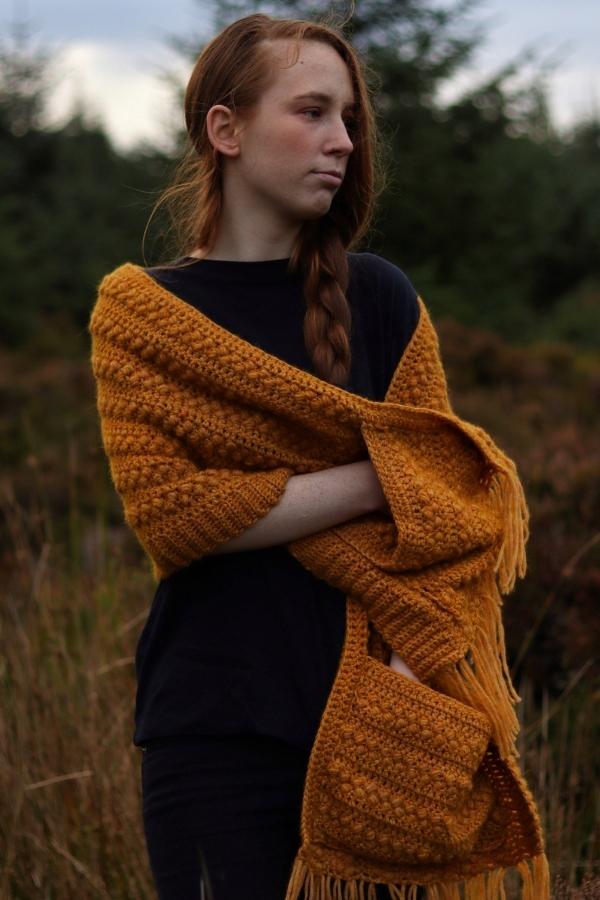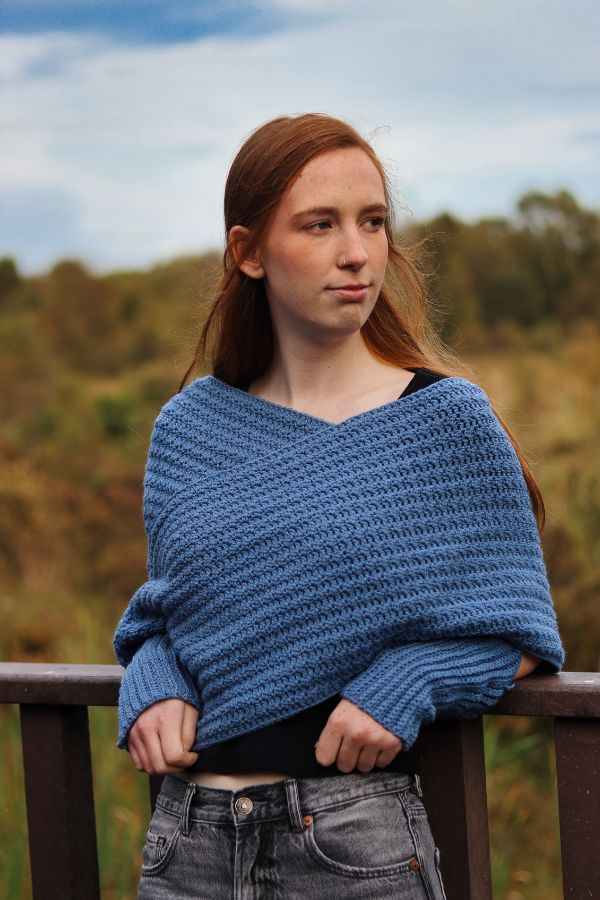
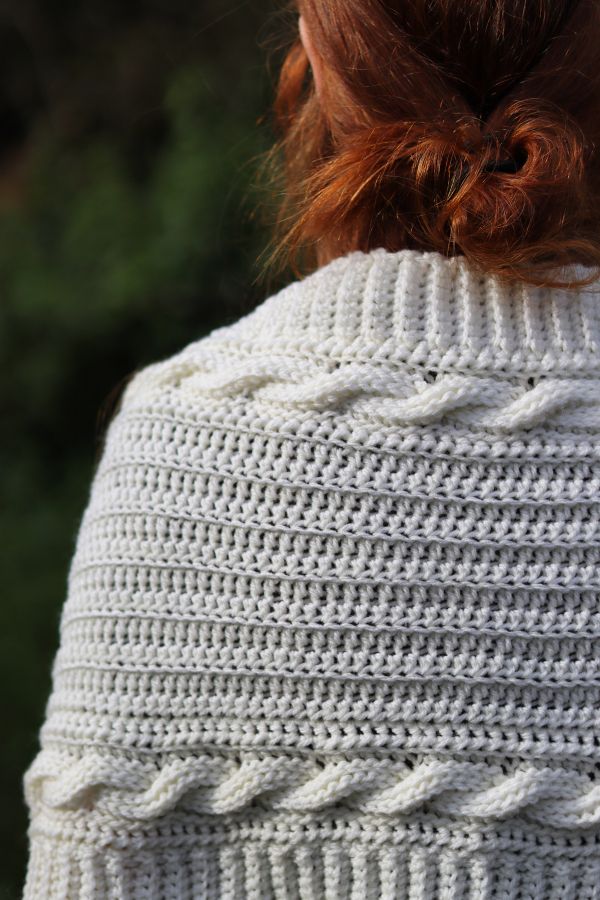
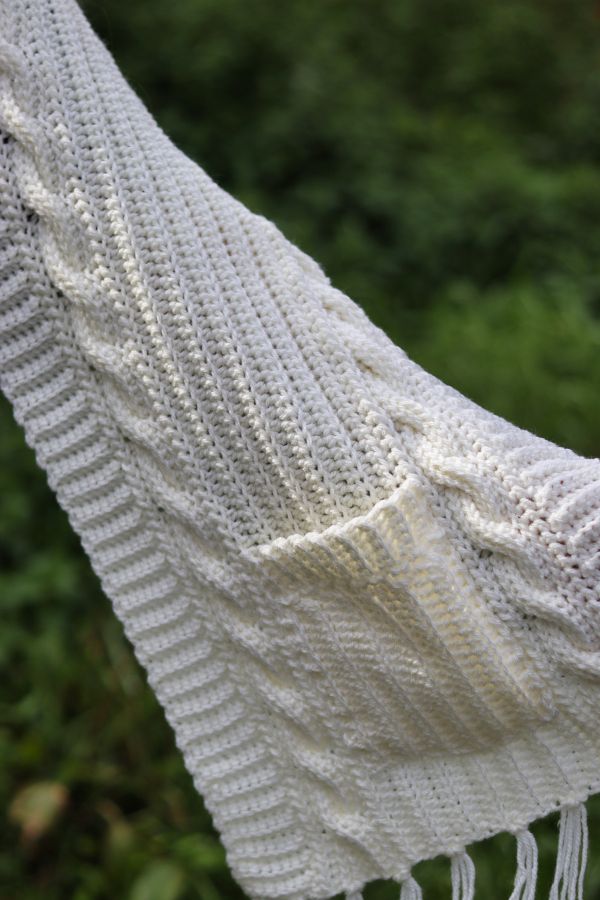
If you love a good pocket shawl with texture, warmth and a touch of Celtic charm, you’re going to adore the Highland Twist Pocket Shawl. This stylish wrap is crocheted sideways, features clever cable stitches created with short rows, and is finished with a beautifully ribbed neckline, deep pockets and playful fringe. It’s the kind of piece you can throw over any outfit-from jeans and boots to your favorite winter dress-and instantly feel wrapped in warmth.

And the best part? It’s totally beginner friendly…adventurous beginner, that is. if you’ve been itching to dip your toes into cable stitches, this project is your perfect gateway.
Why You’ll Love the Highland Twist Pocket Shawl
- Crocheted sideways for a stunning horizontal cable effect
- Features a striking short row cable panel that looks far fancier than it really is
- Ribbed neckline adds structure and polish
- Fringe gives the whole shawl a relaxed, boho finish
- Uses easily accessible worsted weigh yarn and a 5mm hook
- Customizable-make it longer or wider with simple adjustments
- Comes with a step-by-step video tutorial on Youtube to guide you from start to finish
- Makes a fantastic Christmas gift for friends, family… or yourself
This is one of those “looks complicated but actually isn’t” patterns that gives you maximum style for minimal stress.
About the Design
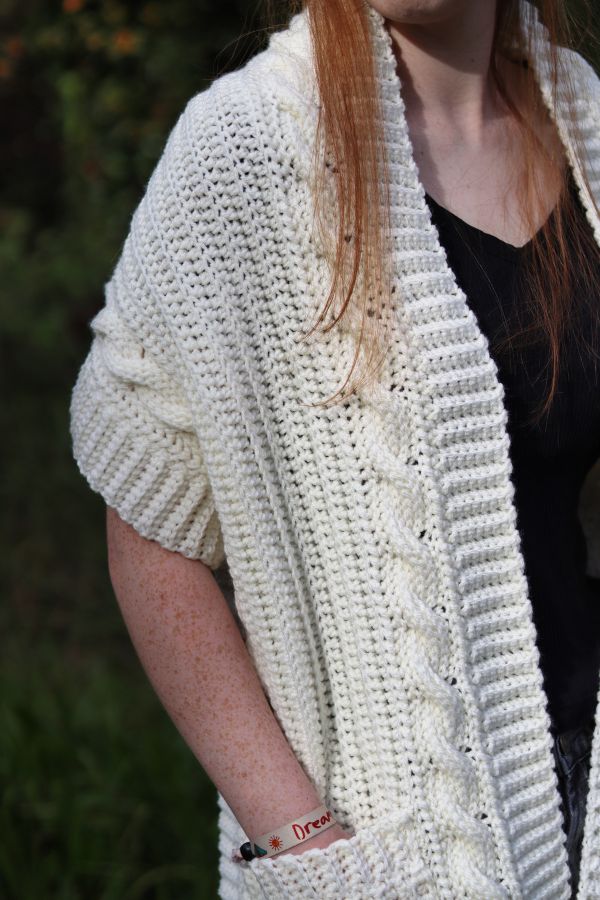
The Highland Twist Pocket Shawl gets it name from the signature cable design running through the sides. Instead of traditional post stitch cabling, this shawl uses short rows to create raised twists that almost look knitted. It’s a simple technique with a dramatic payoff- exactly the kind of thing that makes people say, “Wait…you CROCHETED that?!”
Working sideways means the cables stretch beautifully across the entire length and adding the ribbed neck border gives the piece a polished, finished look. The pockets are also worked sideways and sewn on for a neat, crisp shape, while the fringe adds movement and a bit of winter magic.
The crochet Highland Twist Pocket Shawl is one of those patterns that marries style, comfort and clever construction. Whether you’re making it as a cozy winter accessory for yourself or a handmade Christmas present for someone you love, this shawl is sure to become a cold weather staple.
Perfect for Christmas Gifting
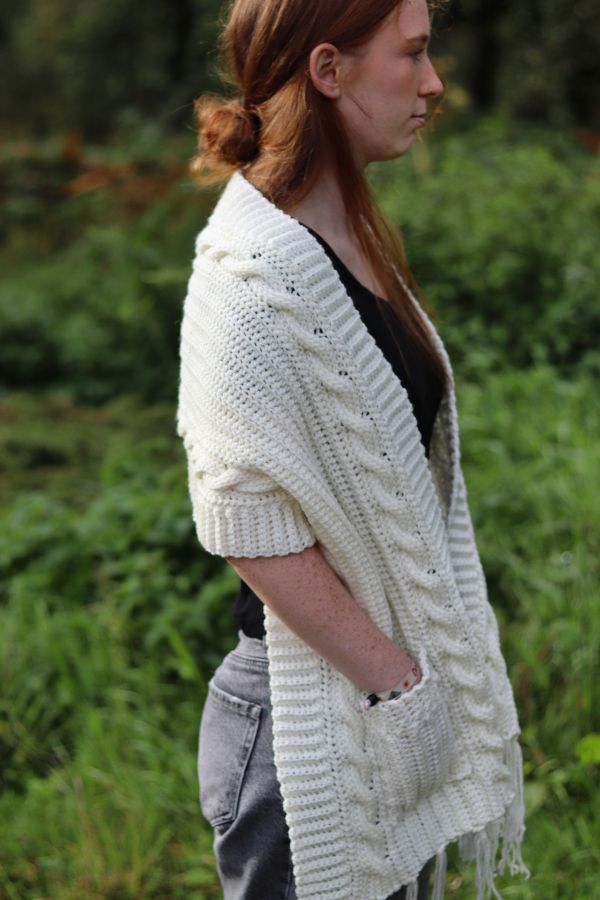
if you’re looking for a handmade gift that feels luxurious, thoughtful and wearable, the crochet Highland Twist Pocket Shawl is a winner. It’s stylish enough for any age, easy to personalize with color and the pockets make it feel extra special.
Plus… you can absolutely pretend the cable took hours of concentration. Your secret is safe with us!
Step-by-step Video Tutorial
The written pattern includes a full video tutorial on Youtube, guiding you through the cable stitches, short rows, assembly, fringe and pockets. Whether you’re a visual or written-pattern-minded, you’ll have everything you need.
Sizing & Customization
Because the crochet shawl is worked sideways, adjusting the size is incredibly simple:
- For a longer shawl: Increase the initial ribbing rows in multiples of 6
- For extra width: Add more rows
- For slimmer pocket or deeper ones: Adjust the length of foundation chain and add more rows
This makes it ideal for all body shapes and all personal style preferences.
Yarn & Hook
Yarn: Worsted (weight 4). Any soft, cozy yarn works beautifully. I used Hayfield Bonus Aran With Wool
Approximately 400g/840m/920yds
Hook: 5mm
Notions: yarn needle (for weaving in ends), scissors, stitch markers (optional)
Measurements
Total Length: 64″
Width: 14″
To adjust the length increase the initial rib row count in multiple of 6
You can adjust the width by doing more/less half double crochet rows.

Stitches & Abbreviations
ch = chain
sc = single crochet
scblo = single crochet back loop only
hdc = half double crochet
hdcblo =half double crochet back loop only
slst = slip stitch
slstblo = slip stitch back loop only
yoslst = yarn over slip stitch
rep = repeat
st(s) = stitch(es)
BUY THE AD FREE PRINTABLE PATTERN HERE
Crochet Highland Twist Pocket Shawl Pattern
Neckline Ribbing
Ch 9
Row 1: sc in second ch from hook and in each ch across, turn. [8 sc]
Row 2: Ch 1, scblo in each st across, turn.
Rep Row 2 until the end of Row 222.
Now we will work along the edges of the rows we just completed:
Main Body
Row 1: Ch 1, yoslst across, turn. [222 sts]
Row 2: Rep Row 1.
Row 3: Ch 1, scblo 6, turn.
Row 4: Ch 1, slstblo 6, turn.
Row 5-6: Rep Row 4
Row 7: Ch 1, scblo 6, ch 2, inc 6 scblo on foundation row, turn.[14 sts]
Row 8: Ch 1, slstblo 14, turn.
Row 9-10: Rep Row 8.
Row 11: Ch 1, scblo 14, ch 2, inc 6 scblo on foundation row, turn. [22 sts]
Row 12: Ch 1, slstblo 14, slst in edge of sc row of hole, turn.
Row 13: Ch 1, skip 1, slstblo 14, turn.
Row 14: slstblo 14, slst in edge of slst row of hole, turn.
Row 15: Ch 1, skip 1, scblo 14, ch 2, inc 6 scblo on foundation row, turn. [22 sts]
Rep Rows 12-15 all the way across.
The end of the row finishes slightly different:
Next row: Rep Row 12
Next row: Rep Row 13
Next row: Rep Row 14
Next row: Ch 1, skip 1, scblo 14, turn.
Next row: Ch 1, slstblo 6, slst into edge of sc row in hole, turn.
Next row: Ch 1, skip 1, slstblo 6, turn.
Next row: Ch 1, slstblo 6, slst into edge of slst row in hole, turn.
Next row: Ch 1, skip 1, scblo 6, turn.
Next row: Ch 1, slstblo 6, *(skip 2 sts, slstblo 6), rep from * across to end, turn.
Next 2 rows: Ch 1, yoslst in each st across, turn.
Next row: Ch 1, hdcblo in each st across, turn.
Rep last row a further 13 more times.
Now we will create the second cable:
Rows 1-2: Ch 1, yoslst in each st across, turn
Row 3: Ch 1, scblo 6, turn.
Row 4: Ch 1, slstblo 6, turn.
Row 5-6: Rep Row 2.
Row 7: Ch 1, scblo 6, ch 2, inc 6 scblo into foundation row, turn [14 sts]
Row 8-10: Ch 1, slstblo 14, turn.
Row 11: Ch 1, scblo 14, ch 2, inc 6 scblo into foundation row, turn.
Row 12: Ch 1, slstblo 14, slst into edge of sc row in hole, turn.
Row 13: Ch 1, skip 1, slstblo 14, turn.
Row 14: Ch 1, slstblo 14, slst into edge of slst row in hole, turn.
Row 15: Ch 1, skip 1, scblo 14, ch 2, inc 6 scblo into foundation row, turn.
Rep Rows 12-15 all the way across.
The end will be slightly different:
Next row: Rep Row 12
Next row: Rep Row 13
Next Row: Rep Row 14
Next Row: Ch 1, skip 1, scblo 14, turn.
Next row: Ch 1, slstblo 6, slst in edge of sc row in hole, turn.
Next row: Ch 1, skip 1, slstblo 6, turn.
Next row: Ch 1, slstblo 6, slst to edge of slst row in hole, turn.
Next row: Ch 1, skip 1, scblo 6, turn.
Next Row: Ch 1, slstblo 6, *(skip 2 sts, slstblo 6) rep from * across to the end, turn.
Next 2 rows: Ch 1, yoslst in each st across, turn.
Ribbed Border
Continuing on from where you are now:
Ch 9
Row 1: sc in 2nd ch from hook and in each of the next 7 chains, slst into each of the next 2 sts, turn.
Row 2: skip the 2 slsts, scblo in next 8 sts, turn.
Row 3: Ch 1, scblo 8, slst into each of the next 2 sts, turn.
Row 4: skip 2 slsts, scblo in next 8 sts, turn.
Rep Rows 3-4 all the way across.
Fasten off and weave in all ends.
POCKETS (Make 2)
Ch 19
Row 1: hdc in 2nd ch from hook and in each ch across, turn.
Row 2: Ch 1, hdcblo in each st across, turn.
Repeat Row 2 until the end of Row 12. For a wider pocket add more rows here.
Next we will work along the edge of the rows we just completed:
Row 1: Ch 1, sc across the edge of the rows just completed placing 2 sts per edge of row, turn, ch 6.
Row 2: sc in 2nd ch from hook and into each of the next 4 chains, slst into each of the next 2 sts, turn.
Row 3: skip the 2 slsts, scblo 5, turn.
Row 4: Ch 1, scblo 5, slst into each of the next 2 sts, turn.
Row 5: skip the 2 slsts, scblo 5, turn.
Rep Rows 4-5 across the top of the pocket. Fasten off leaving a long tail.
Lay your pocket shawl right side up on a flat surface. Using the long tail and a yarn needle sew a pocket on each end of the shawl. It is best to try on the shawl and map out where you would like to place your own pockets.
Weave in all ends. It is recommended to give the pocket shawl a quick steam to relax the stitches and give it a more polished look.
FRINGE
Cut three lengths of yarn to about 20 inches in length each. Fold in half making loop around finger. Using your crochet hook, pull the loop through the end of shawl, beginning at the outer edge. Once the loop is pulled through feed the ends pf the yarn through the loop and pull tight.
Repeat this all the way across making sure they are all evenly spaced.
You are now finished your crochet Highland Twist Pocket Shawl!
Have You Checked Out These Patterns