
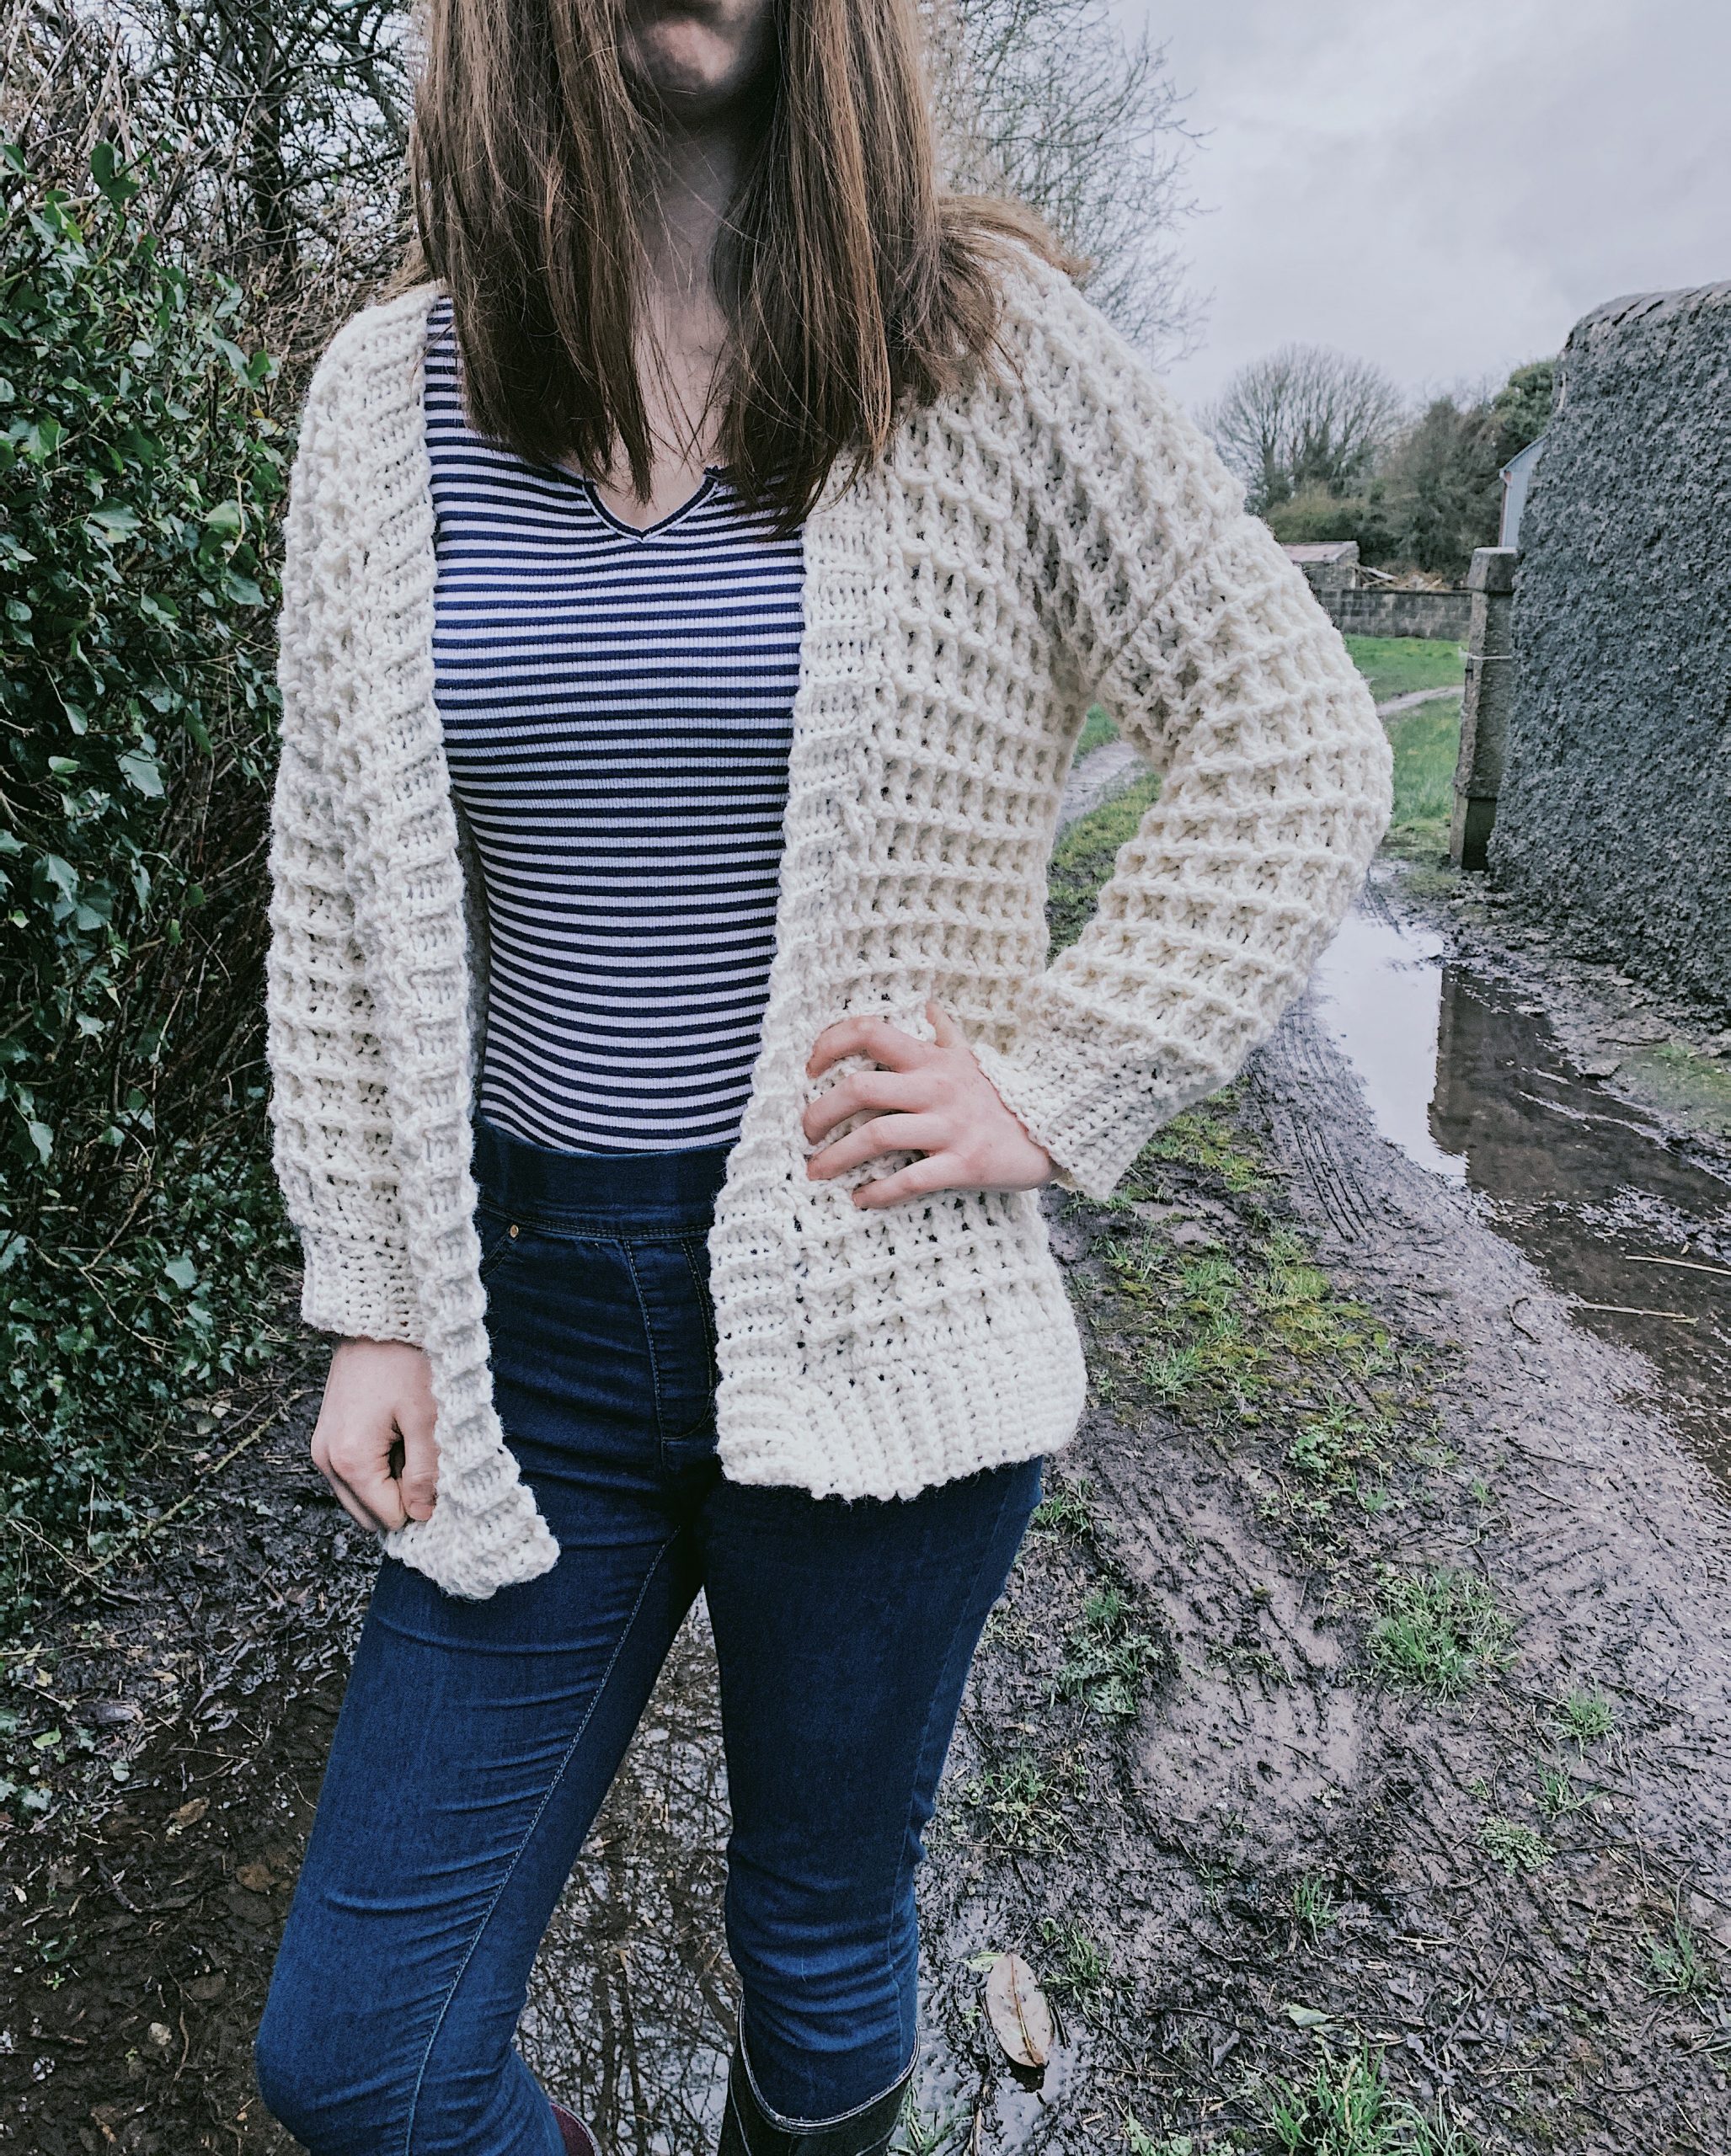
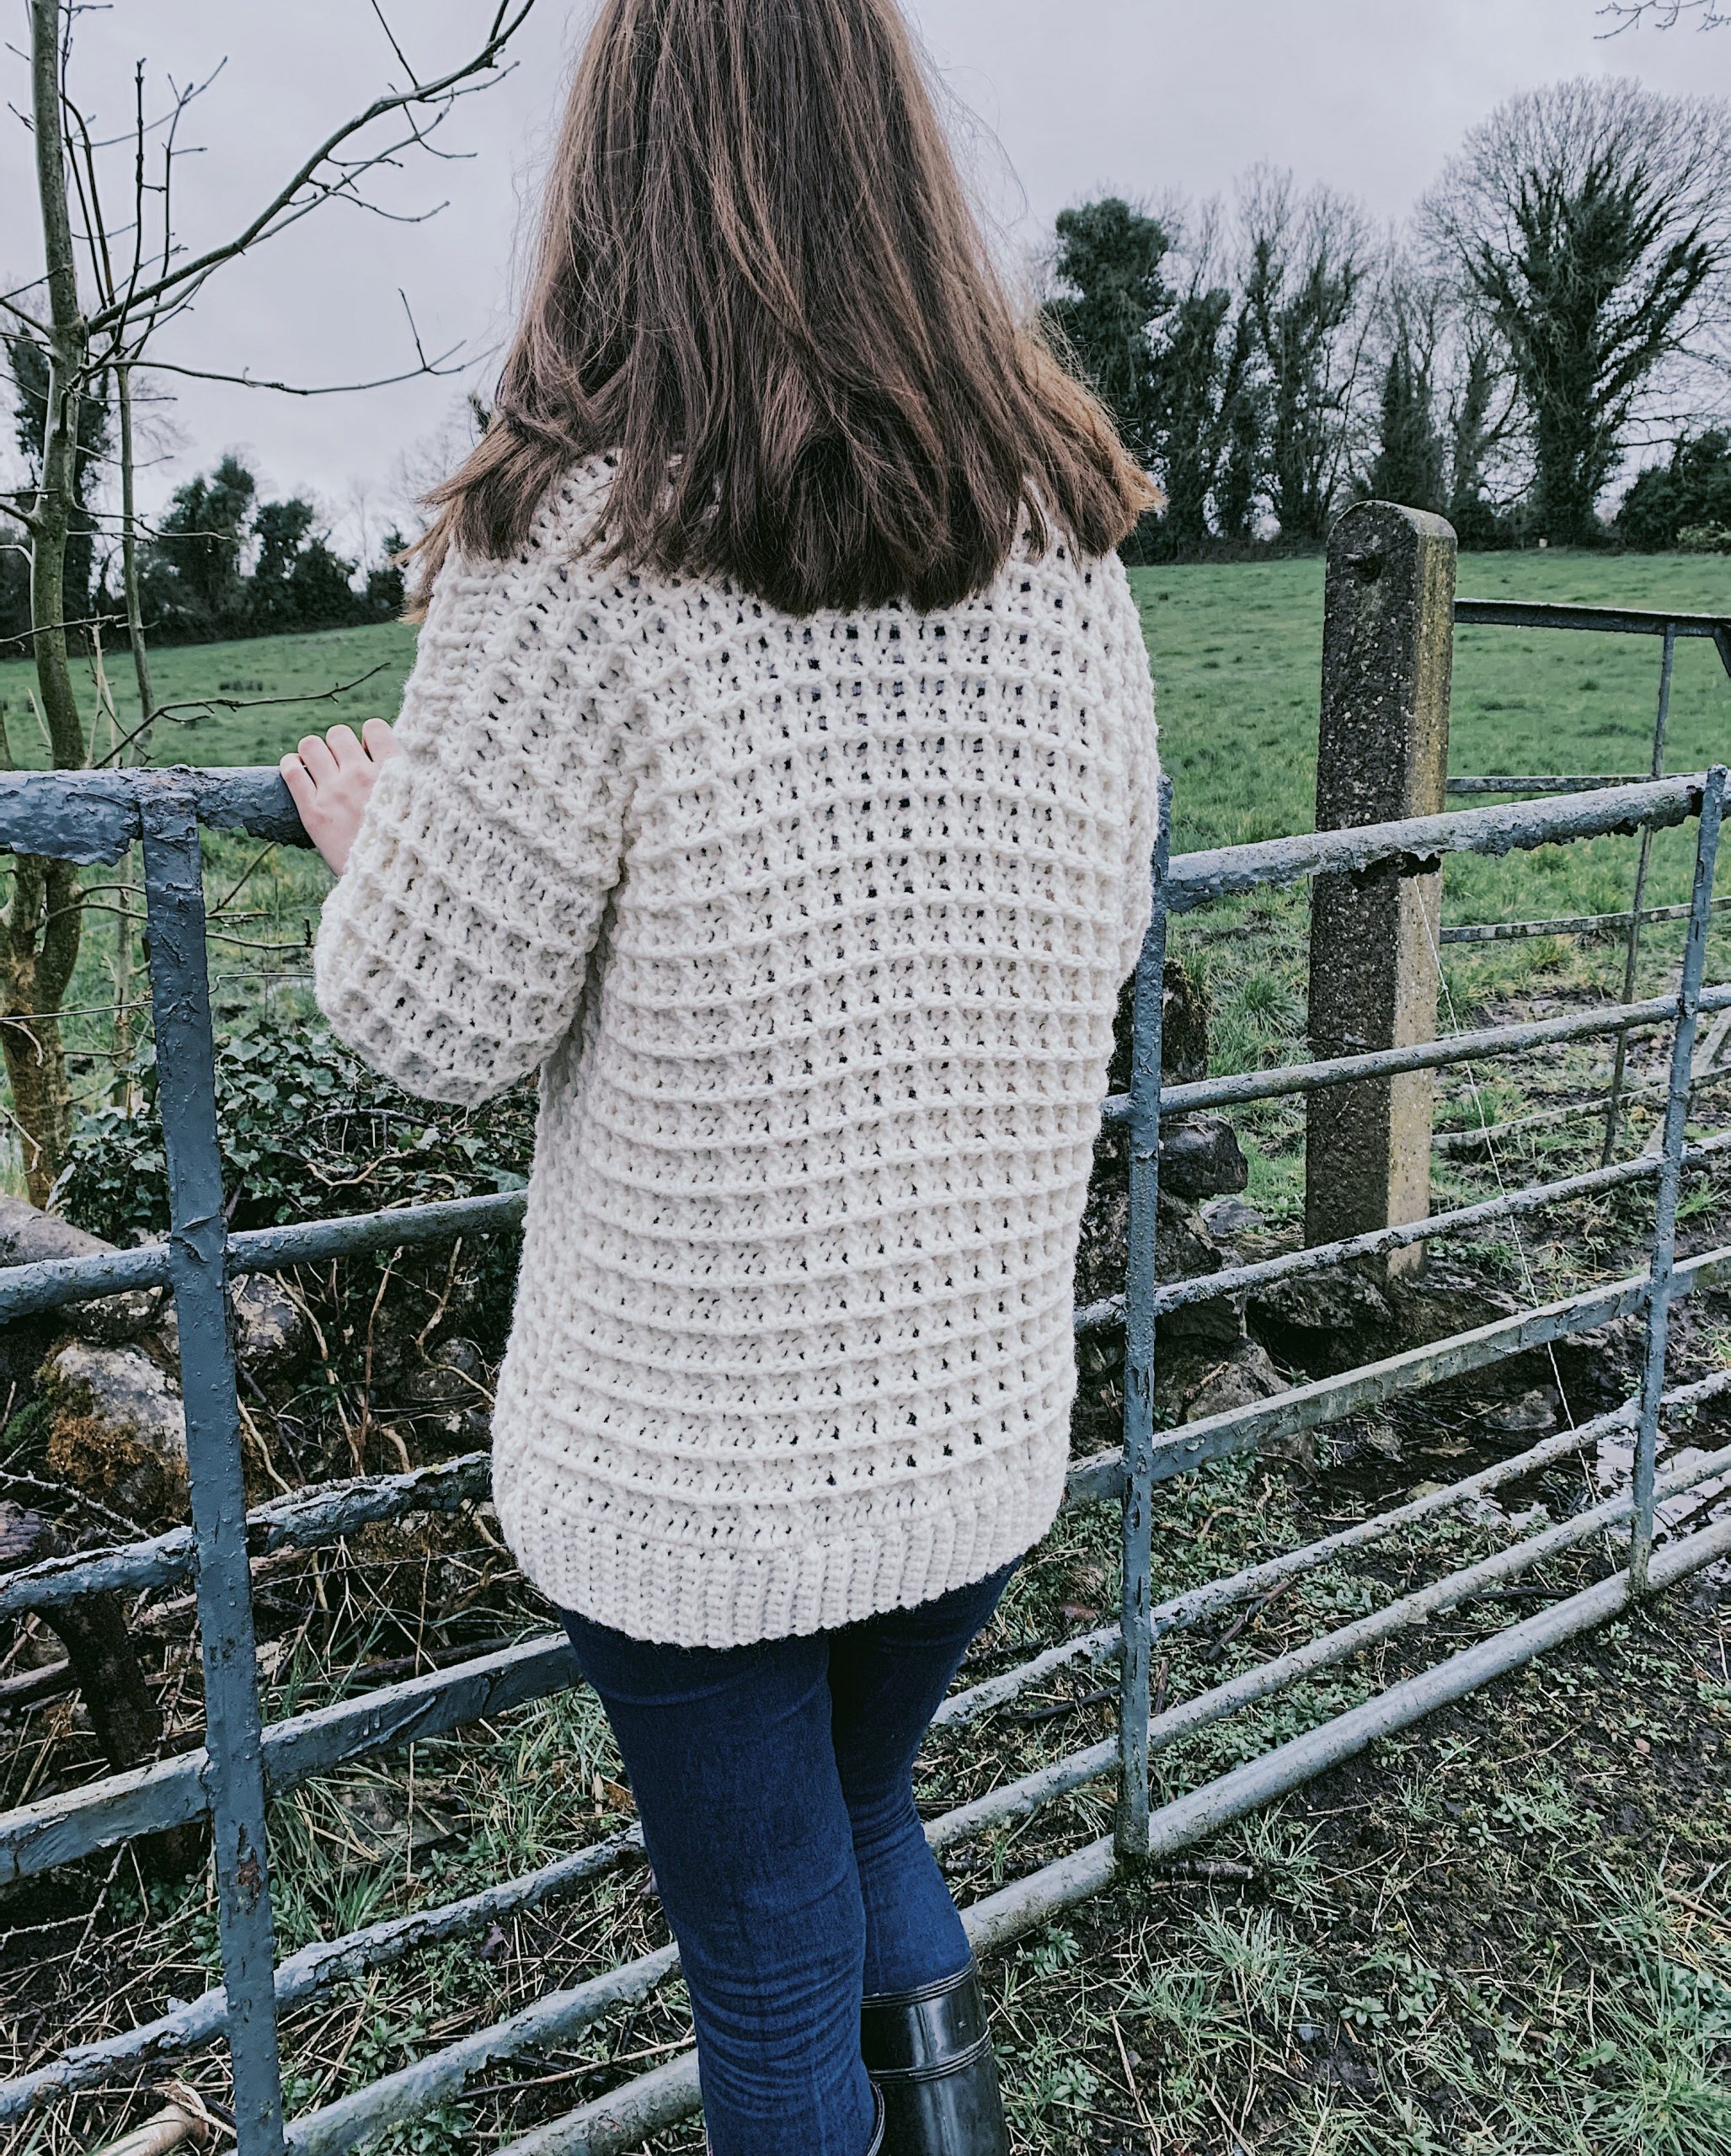
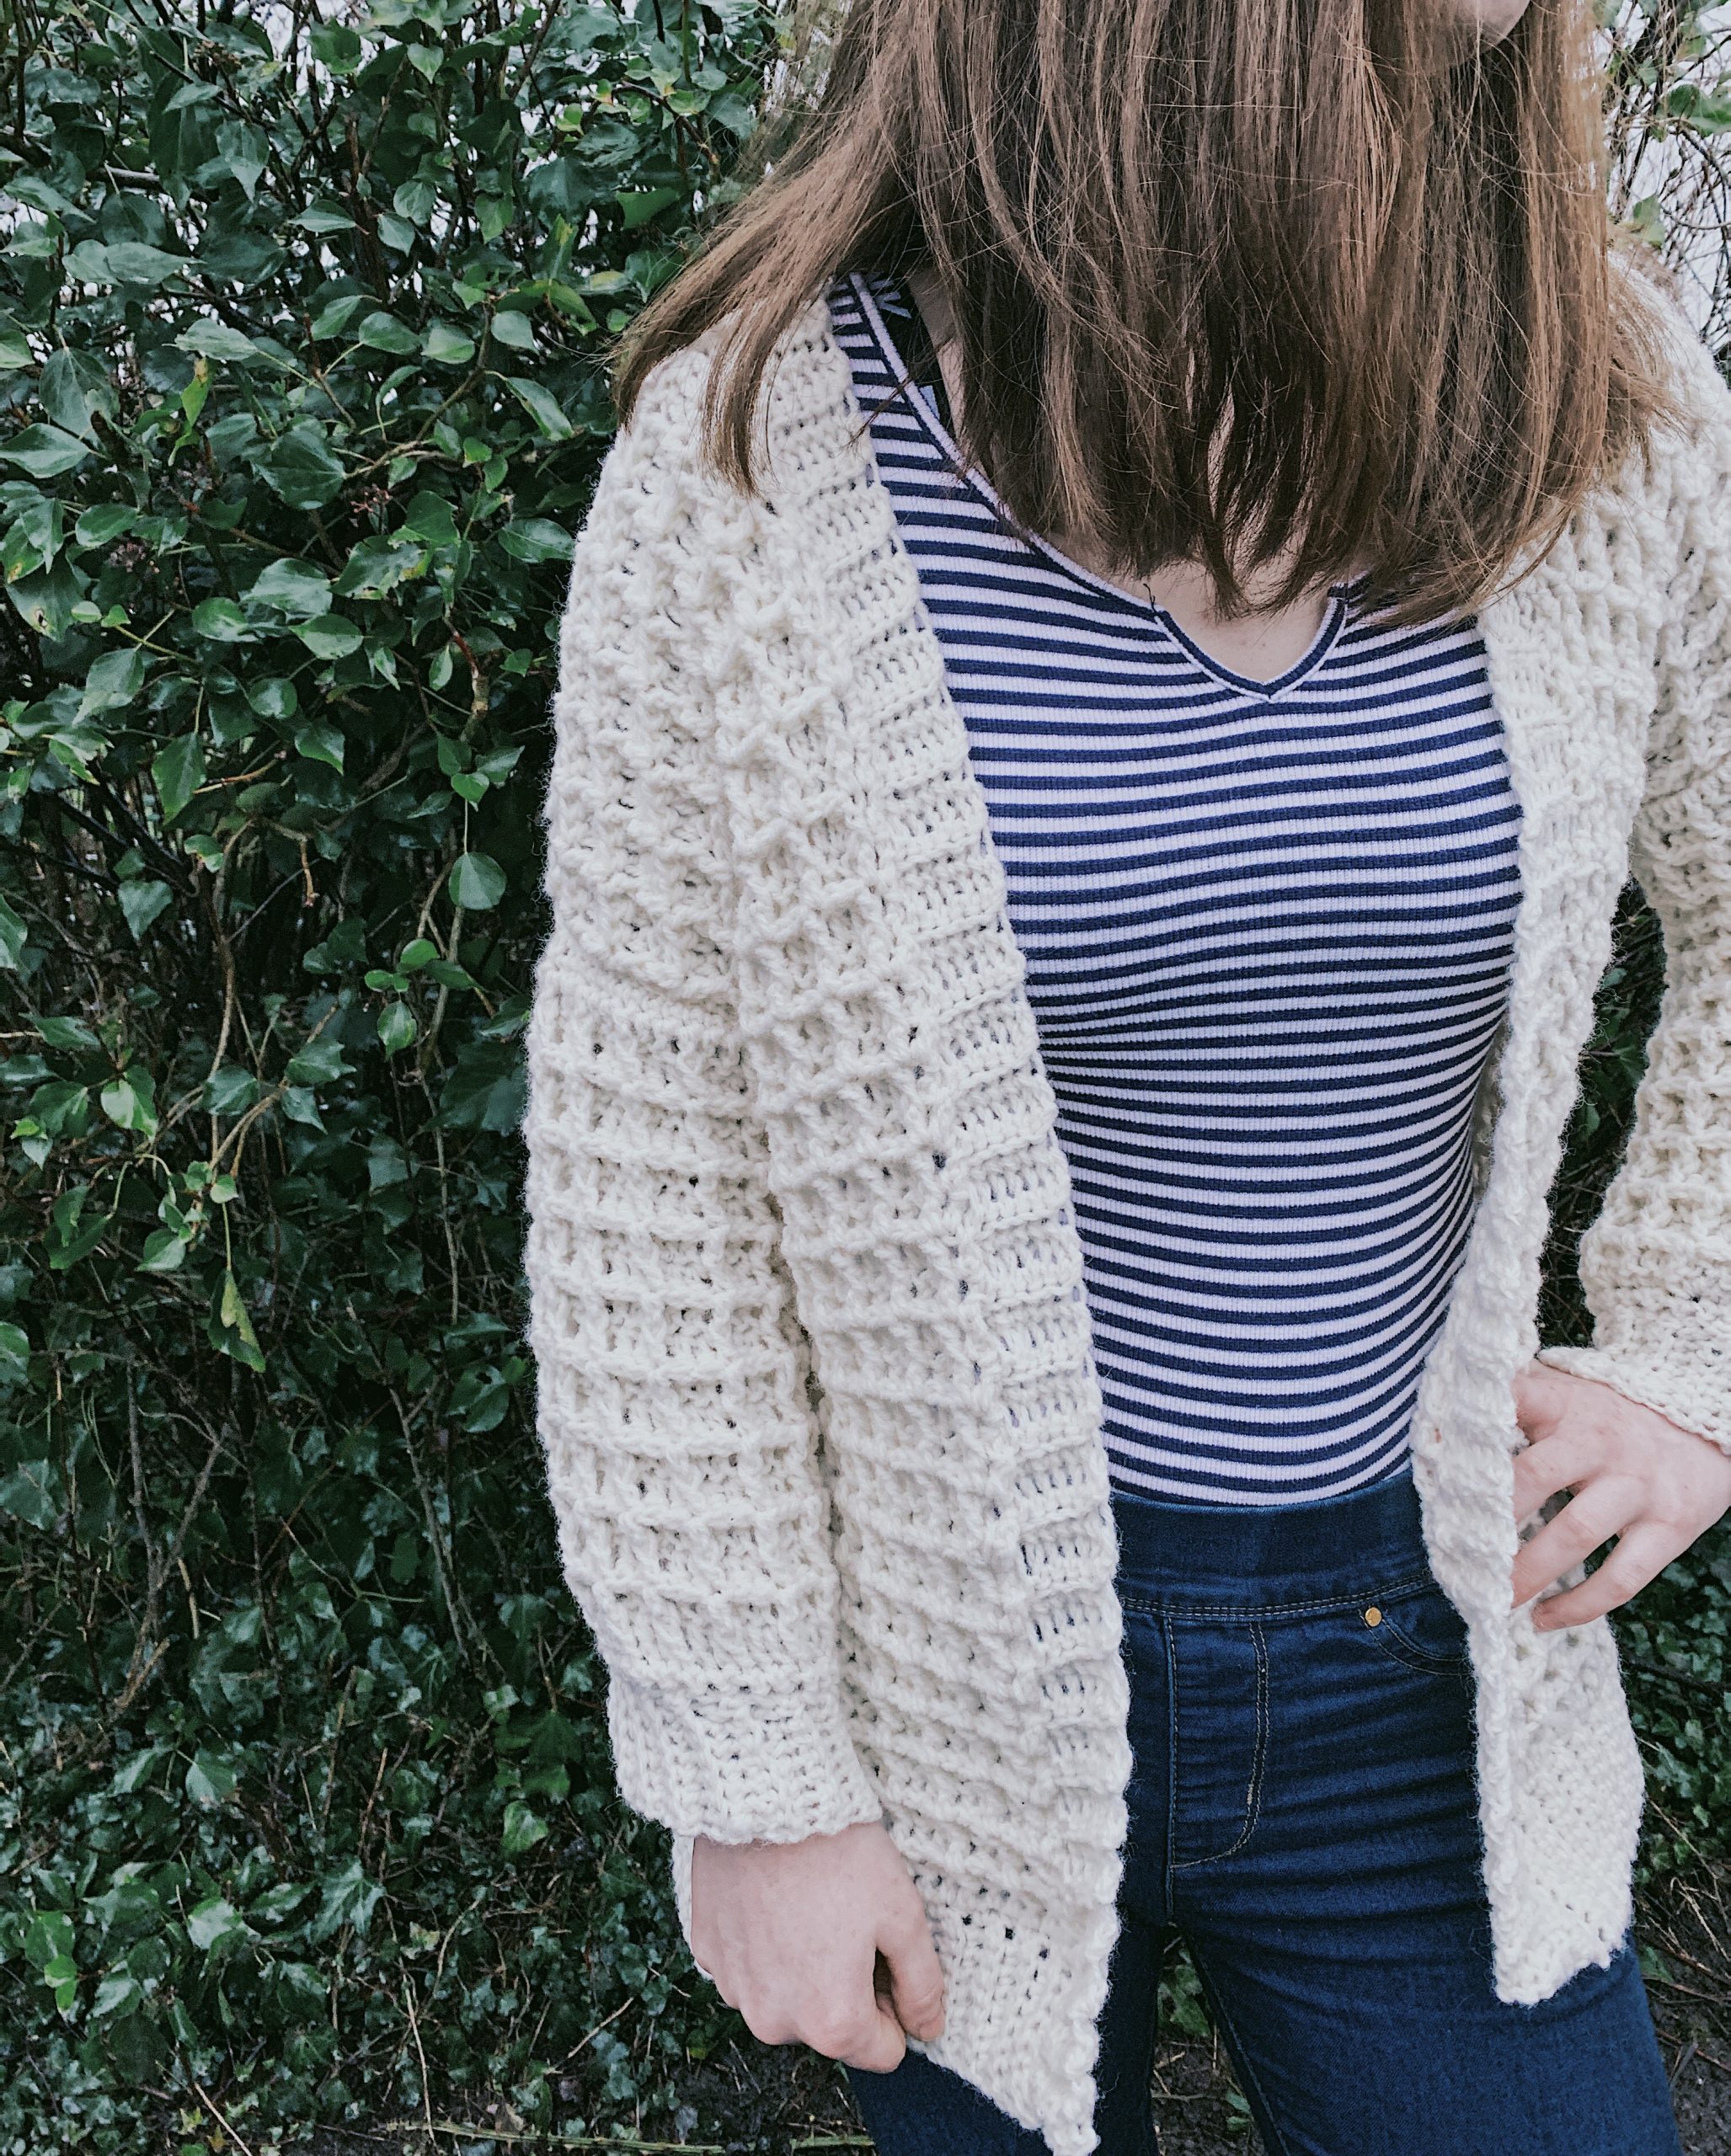
Spring is literally around the corner so there’s no better way than to snuggle up in this crochet Roisín [ro-sheen] textured cardigan. It’s designed to be slightly oversized, with loose sleeves and a ribbed hemline.
Materials:
Any weight 4/worsted/aran/10ply yarn
6mm crochet hook
Stitch marker
Measuring tape.
I would recommend 650/700g for size S/M, 750/800g for size L/XL, 850/900g for 2XL/3XL, and 900/950g for 4XL/5XL.
The pattern is worked in 5 separate pieces, the back panel, two front panels and two sleeves.
Sizes:
S-M(L-XL, 2XL-3XL, 4XL-5XL)
Back panel
Ch 9
Row 1: sc in 2nd ch from hook, sc in each ch across. Turn.
Row 2: ch 1, sc in BLO in each st across. Turn.
Repeat row 2 for a total of 66(72,78,84) rows.
Now working along the long edge of the ribbed hem, ch 1, sc 66(72,78,84) sts across. Turn.
Next row: ch 2(counts as first dc), dc into each st across. Turn
Next row: ch 2, *fpdc around next dc, dc into each of next 2 sts, repeat from * until 2 sts remain, fpdc around next st, dc into last st (on top of ch 2). Turn.
Next row: ch 2, *dc into next st, 2fpdc, repeat from * across until 2 sts remain, dc into each of last 2 sts. Turn.
Repeat last 2 rows until your back panel measures 20-22″ long or whatever length you prefer. Fasten off leaving a long tail.
Front panel (make 2):
Ch 9
Row 1: Sc in 2nd ch from hook, sc into every ch across. Turn.
Row 2: ch 1, sc in BLO into every st across. Turn.
Repeat row 2 for a total of 27(30,33,36) rows. Turn.
Now turn your piece so you’re working along the long edge of the ribbed hem.
Next row: ch 1, sc (27,30,33,36) sts across evenly. Turn.
Next row: ch 2( counts as first dc), dc into every st across. Turn.
Next row: ch 2, *fpdc around next dc, dc into each of next 2 sts, repeat from * until 2 sts remain, fpdc around next st, dc into last st (on top of ch 2). Turn.
Next row: ch 2, *dc into next st, 2fpdc, repeat from * across until 2 sts remain, dc into each of last 2 sts. Turn.
Repeat last 2 rows until your front panel measures 20-22″ long or whatever length you prefer. Make sure it’s the same length as back panel. Fasten off leaving a long tail.
Sleeves (make 2):
Ch 55(61,70,76)
Row 1: Sc in 2nd ch from hook, sc in each st across. Turn.
Row 2: ch 2(counts as 1st dc) dc into each st across. Turn.
Row 3: ch 2, *fpdc around next dc, dc into each of next 2 sts, repeat from * until 2 sts remain, fpdc around next st, dc into last st (on top of ch 2). Turn.
Row 4: ch 2, *dc into next st, 2fpdc, repeat from * across until 2 sts remain, dc into each of last 2 sts. Turn.
Repeat rows 3-4 until your sleeve measures 17″ long.
Next row: ch 1, *sc into next 3 sts, sc2tog, repeat from * across. Turn.
Next row: repeat last row.
At the end of last row ch 8.
Sc in 2nd ch from hook, sc in next 6 chains, slst into next 2 sc, turn
**Sc in BLO into next 7 sc, turn.
Ch 1. Sc in BLO into next 7 sc, slst into next 2 sts. Turn. Repeat from ** all the way across sleeve. Fasten off, leaving long tail.
Assembly:
Lay your back panel out flat with the textured side facing up. Next, lay your front panels on top with textured sides facing down. Sc the front panels to the back panel along the top (shoulder area).
Next lay entire piece out flat, textured side facing down.
Grab a sleeve and find middle st, place st marker into that st, then line the st marker with the shoulder seaman connect. Now sc the sleeve to body of cardigan.. repeat for other side.
Now fold your cardigan and sc along the edge of sleeve and down the sides.
Now turn Cardigan right side out.
Attach yarn to the bottom inner corner of your right hand front panel. Ch 1, sc all the way around the inner edge of cardigan until you reach other side.
When you reach the other side, ch 7.
Sc into 2nd ch from hook, sc into next 5 chains, slst into next 2 sc, turn.
**Sc in BLO into next 7 sc, turn.
Ch 1. Sc in BLO into next 7 sc, slst into next 2 sts. Turn. Repeat from ** all the way around the inner edge of cardigan until you reach other side. Fasten off and weave in all ends.
You are now finished your cardigan.
You are the best… I was trying to learn crocheting for a very long time… I made my first ever sweater (cabled boyfriend) just because your instructions were so much beginner friendly. Now I’m gonna make this cardigan as my second project. Thank you so much…
I have a request, can you teach how to crochet pants. I bet your instructions as well as design will rock.
Stay happy.
Hello Carrie, first time seeing your patterns. I ALL IN LOVE WITH THEM. I do need your help though. 850 to 900 grams is what in USA measurements. I have 2 sweaters in mind. Thanks for your help. AND patterns
I can not begin to tell you how much I LOVE this pattern!! I’m going to check out your other patterns too, they look equally amazing. Thank you for sharing!
Thank you so much for sharing this patten i love this waffle pattern. The day i saw this my grandaughter sent me a picture of a cardi in this pattern asking if i would be able to get a pattern to make it for her i could not believe it so that is what i am going to do. So once again thank you for making two people very happy😊😊❤
Great sweater. I did one like this. Then I did it with reversible V. You have to make a longer rib section (up one size). The stitch draws up. But it also looks great using your basic pattern. The V is in repeat of 5. I added one sc in on the sc row to get enough space.
Love the clear and easy instructions – and the simplicity and how fast it grows – thank you thank you thank you
Hi, thank you! I’m wondering what are the measurements for each size, as well as the gauge?
What if my wool thinner than the one used by you. I mean cal you give a measurement in centi meters also (length and breadth of the back), what should be the length of first piece of the back panel etc
Hey Carrie! Thank you for this pattern! I do want to say that as a crocheter with a loose gauge I had some craziness happen with the sleeves (following the small/medium stitch count). I ended up doing the stitch count for the large in the back and front panels since I am a bit more busty but my arms are short and stubby so I kept in the S/M. Even using a 4 mm crochet hook to try to get gauge, my sleeves ended up way too long (3-4 inches) and loose (esp. in the cuff). I went back step by step through the tutorial to see what I did wrong, and I think pairing the L bodice with the S/M was a big part of it as I think the shoulder drops down quite a bit more. I would definitely caution anyone against pairing sizes. Also, I still think I was off gauge in the end. I will do some tailoring/tucking on the cuff and hopefully that will help! I would definitely recommend anyone to measure throughout as well to make sure that the size meets their specific dimensions. Overall learned a lot and think this will still turn out to be a beautiful cardigan!!
I have a question about the number of chains for the back panel. Is it supposed to be more than 9? It seems like it should be much more.
Thank you
The Ch9 is for the bottom ribbing of the back panel, then you’ll stitch along the side of it. A few rows below the Ch9, right before the bold that says Next row:, you’ll turn your work 90 degrees and single crochet along the side then work the back panel from the bottom up. The same method will be used later for the single panel.
The sleeve width is very large I am make if a small should I use 45 system instead of 55
I love your designs. I was wondering if you have a raglan sleeve cardigan with a hood?
Hi, not quite sure how to describe the problem I’m having, should the stitch count not be 66 for the back panel for the S/M? Whenever I make sure that’s what I have, the waffle part if off by one and honestly I can’t tell why from the pattern. Unclear how the “ch2” fits in, do you have like real stitch counts that aren’t that? Thanks!
So love this pattern i am now on my fourth one. I also managed to do a toddler version. I have also made the cabled cardigan to.Thank you once again for your kindness in sharing with your lovely patterns☺💖