
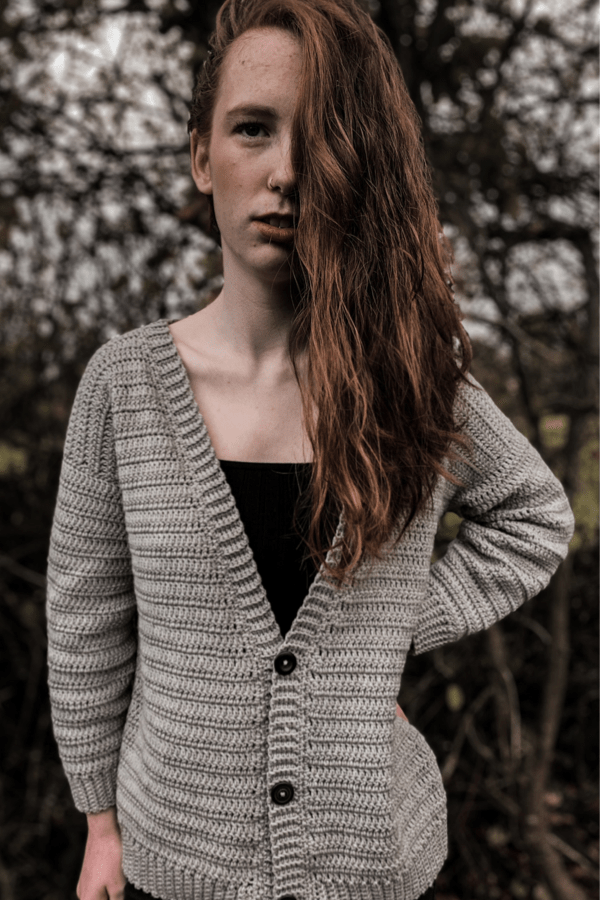
Learn to crochet this quick and easy basic every day cardigan. Designed with plenty of room and basic stitches, this crochet cardigan can be made by even a beginner crochet lover.
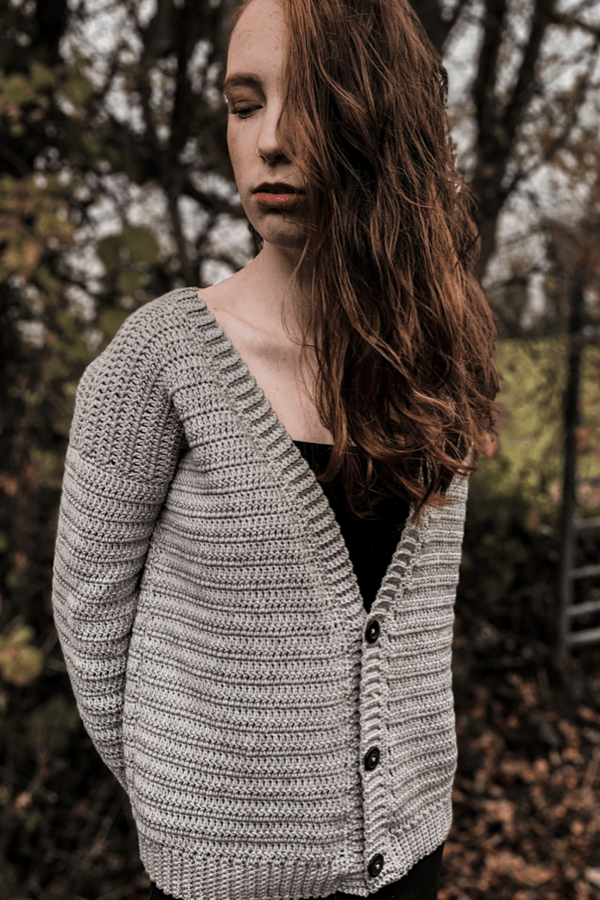
Nothing beats the simplicity of a basic crochet everyday cardigan. It can easily be worn thrown over a T-shirt and jeans, or layered over a skirt or dress. The outfit ideas are literally endless.
I wanted to create something with simplicity in mind. The cardigan had to have a v shaped neck and of course buttons had to be added.
This crochet cardigan pattern is accompanied with a step by step video tutorial. Please scroll down to view the video.
Firstly we will begin with the front panels. We begin working the ribbed hem, then start crocheting along the long edge of our ribbed hem. After a few rows we will do a little shaping and eventually fasten off. Both front panels are identical. After we have completed our front panel we begin work on the back panel. Starting with the ribbed hem, then working along the long edge we crochet along until we reach a certain height. Both sleeves are worked in the same way by beginning with the ribbed cuff and working our way along the long edge where we eventually do a bit of increasing.
Once all the pieces are crocheted we sew them together with a yarn needle, then we begin the ribbing along the inner edge of the cardigan.
YARN
The yarn I used for this crochet cardigan was Drops Merino Extra Fine which is a Dk or a weight 3 yarn. This yarn is super soft against the skin and the drape and stitch definition is simply impeccable. The yarn is super wash treated for easy care and perfect for everyday wear.
NOTES
- The sizing guide is S(M, L, XL, 2Xl)
- The turning chain DOES NOT count as a stitch.
- This pattern uses standard American crochet terms.
- Cardigan is designed to be slightly oversized to go down a size for a snugger fit.
LEVEL
Beginner/Easy
MEASUREMENTS
To fit bust 32-34(36-38, 40-42, 44-46, 48-54)
Back width: 21(23, 25, 27, 29) inches
Length: 21(21, 21.5, 22, 22.5) inches
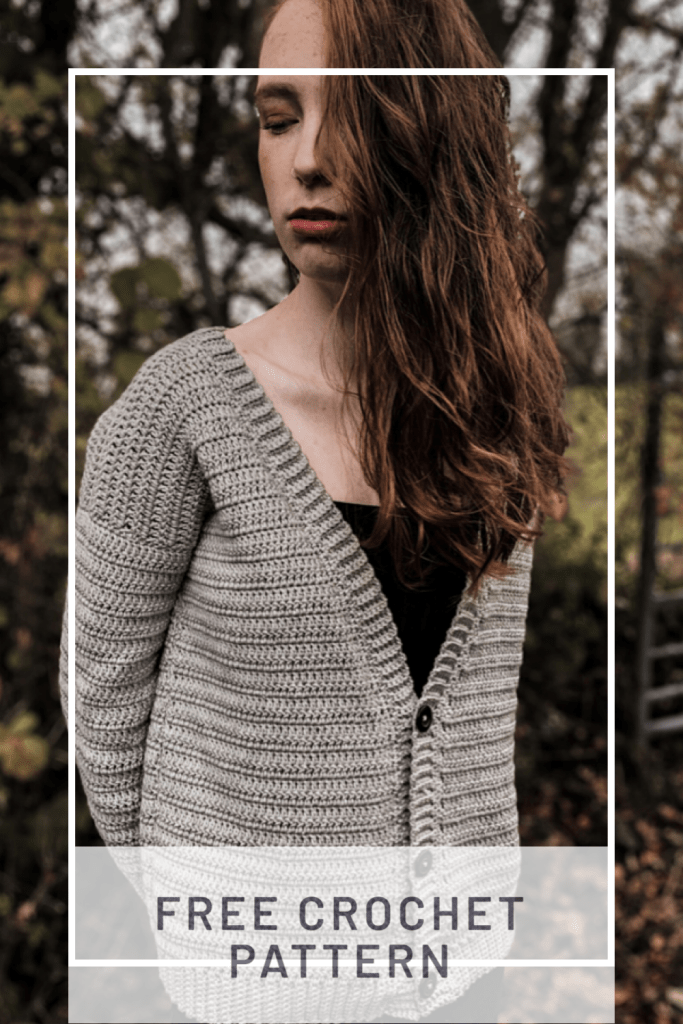
PIN IT FOR LATER!
MATERIALS
Yarn – Drops Merino Extra Fine – Dk/weight 3/light/8 ply
Approximately 1365(1380, 1400, 1420, 1440) meters.
4mm crochet hook
Measuring tape
Yarn needle
Stitch markers
3 buttons.
STITCHES & ABBREVIATIONS
Ch = chain
Sc = single crochet
Dc = double crochet
Slst = slip stitch
Dc2tog = double crochet two together
BLO = back loop only
GAUGE: 17 dc sts by 10 rows in 4″
CROCHET BASIC EVERYDAY CARDIGAN PATTERN
FRONT PANELS
Ch 10
Row 1: sc in 2nd ch from hook, sc to end. Turn
Row 2: ch 1, sc in BLO in every stitch across. Turn.
Row 3: repeat row 2 until you have 38(42, 46, 50, 54) rows in total.
Now we work along the long edge of the ribbing:
Next row: ch 2 (not counted as stitch here or throughout) make 38(42, 46, 50, 54) dc across. Turn.
Repeat last row for a further 16(16, 18, 18, 20) rows.
Next row: ch 2, dc2tog, dc in each st across. Turn
Next row: ch 2, dc in each st across. Turn.
Repeat last 2 rows until you have 22(22, 25, 25, 27) remaining. Fasten off leaving a long tail. TAKE NOTE OF THE AMOUNT OF DOUBLE CROCHET ROWS YOU HAVE AFTER FASTENING OFF
Go ahead and make the other front panel in the same way.
BACK PANEL
Ch 10
Row 1: sc in 2nd ch from hook, sc to end. Turn.
Row 2: ch 1, sc in BLO in each st across. Turn.
Repeat row 2 until you have a total of 89(97, 106, 114, 123) rows.
Now we work along the long edge of the ribbing.
Next row: ch 2 (not counted as stitch here or thoughout) make 89(97, 106, 114, 123) dc across. Turn.
Repeat last row until you have the same amount of rows as one of your front panels.
Fasten off.
SLEEVES
Ch 10
Row 1: sc in 2nd ch from hook, sc to end. Turn.
Row 2: ch 1, sc in BLO in each st across. Turn.
Repeat row 2 until you have a total of 41(41, 41, 43, 43) rows.
Now we will work along the long edge of the ribbing.
Next row: ch 2 (not counted as stitch) make 41(41, 41, 43, 43) dc across. Turn.
Next row: ch 2, 2dc in same st, dc in each st across, place 2 dc in last st. Turn
Repeat last two rows until you have 55(59, 63, 69, 73) dc. Turn.
Next row: ch 2, make 55(59, 63, 69, 73) dc across. Turn.
Repeat last row until sleeve measures 17(17, 17.5, 18, 18) inches
Fasten off leaving a long tail.
ASSEMBLY
Lay the front panels on top of the back panel making sure the curved edges of the front panels are facing each other. With you yarn needle mattress stitch along the shoulders.
Next lay entire piece out flat with the wrong side facing up. Mark the centre stitch of the sleeve with a stitch marker and then line that marker up with the shoulder seam. Connect there with marker. Now sew along attaching sleeve to body. Repeat for other sleeve on the other side.
Fold cardigan over and sew down along the edges of the cardigan.
Turn cardigan right side out. Attach yarn to bottom inner corner of the cardigan.
Ch 1, sc in same st, then sc all the way around the inner edge of the cardigan until you reach the other side. DO NOT FASTEN OFF
Ch 7, sc in 2nd ch from hook, sc in next 5 chains, slst into next 2 sc (on the body of cardigan), ** turn, skip 2 slsts, 6 sc in BLO, ch 1, turn, 6 sc in BLO, slst in next 2 sc, turn, skip 2 slsts, 6 sc in BLO, ch 1, turn, 6sc in BLO, slst in next 2 sc, turn **
****skip 2 slsts, sc in BLO in next 2 sts, ch 2, skip 2, sc in BLO in next 2 sts, ch, turn, sc in BLO in next 2 sc, 2 sc in ch2-sp, sc in BLO in next 2 sc, slst in next 2 sc.****
Now grab 2 stitch markers and place them where you want your other two button holes to be.
Repeat from ** to ** until you reach the next stitch marker (or at least close enough to it) and repeat from ****
Repeat this process until you have all 3 button holes completed. Then you will repeat from ** to ** until you reach the other side of the cardigan. Fasten off and weave in all ends.
Now sew on your buttons and you are good to go.
I very confused😂
Hi Carrie
Love this one too, can’t keep up with you though,lol
Still making the Roisin cardigan, loving it. Have so many of your patterns to make, need to live to 100 😀
You should include a print button. It’s easier for some of us to print out the pattern and work from the printed pattern.
Looking forward to making this!
Copy and paste. Thats what I do with all her patterns. Easy peasy
The front pieces of the cardigan are made identical ie one has to be turned to the other side, however they need to be a mirror image of each other so the pattern lines will match up. I only realised this when I came to make up the garment and wished d changed the pattern on the second piece to make this more accurate. This was my first trial at a cardi, and although good practice I realise I’m going to really think about the patterns given on these videos before choosing to commit to one and alter them for my own use, a lovely video but more explanation of what is the right and wrong sides are would be appreciated. I am a size 12 and I made a medium, it’s very wide so wished I’d made the small. I would love to see a top down cardi pattern so we can get a better idea of sizing. Thanks though Carrie, it’s helped me practice.
Doesn’t say how many chains for each sizes , need to knowhow many chains I have to do for a size large to XL Large and for a Medium
How many chains for Large and XL Large?
I was wondering exactly the same thing! You need to watch the video to understand the way the cardigan is constructed. For example, the stitches you work on first (chain 10) you do for varrying rows which defines the size you are making. (46 rows for large and 50 rows for xl) Once you’ve done that you turn your work and those rows becomes the ribbing at the bottom of the first front. You then make 46 (L) or 50 (XL) stitches along the long edge of the ribbing. The video explains it better than I do! Hope that helps.
Thankyou for this comment about the two front panels being the exact same. To fix this, when making the second panel I put the decrease at the end of the row instead of at the beginning to create a perfect mirror image and now my lines meet up perfectly.
I just finished the cardigan and I love how it turned out! Thank you so much for the free pattern.