
My favorite time of year is nearly upon us and I can’t tell you how happy I am about that. I love Fall! I love everything about it from the cozy nights by the fire, to warm hot chocolate drinks to the big over sized comfy sweaters. Just the other day I spotted the first of many golden leaves to fall to the ground and I must say I got super excited!
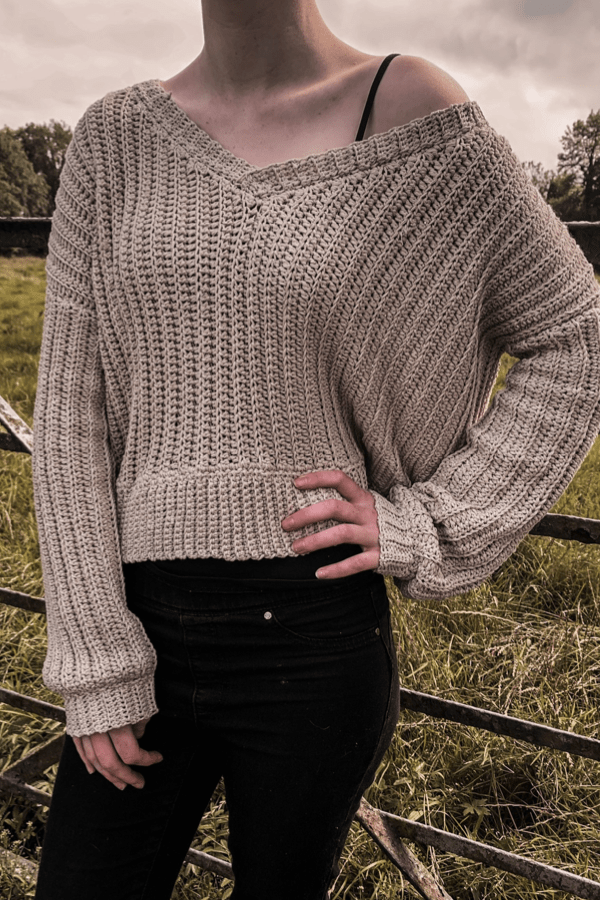
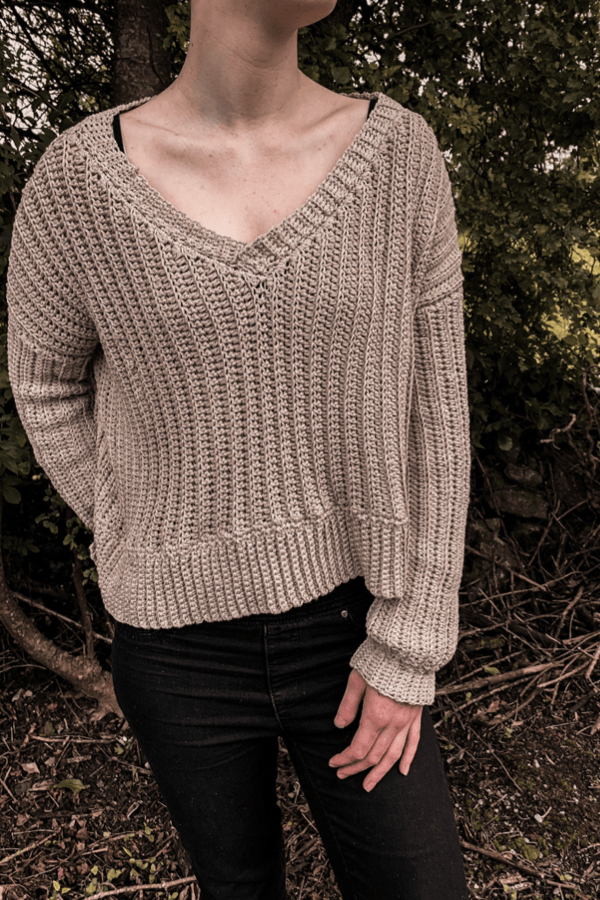
To start off my Fall collection I’ve got this super cozy crochet v-neck ribbed sweater. It is designed to be over sized and slightly cropped. Adding more chains to the initial foundation chain will create a longer crochet sweater.
The sweater is designed to work from the side instead of the classic bottom up sweater. This created the ribbed texture throughout the sweater.
The Yarn
The yarn I used for this crochet ribbed sweater was Drops Cotton Light. It is a weight 3 or Dk yarn. It is a polyester/cotton blend and works up beautifully. The stitch definition is stunning and all in all I enjoy working with this yarn.
Of course you are more than welcome to use any yarn fibre that you wish. I think a nice wool blend or even an acrylic yarn would work wonders for the colder months ahead as long as it’s a weight 3 yarn.
Sizes
The sizing guide follows size S(M, L, XL, 2XL, 3XL). E.g. “Ch 64(68, 72, 76, 80, 84) means ch 64 for Small, ch 68 for Medium, ch 72 for Large, ch 76 for XL, ch 80 for 2XL and ch 84 for 3XL.
The turning ch 1 does NOT count as a stitch unless otherwise stated.
This pattern uses standard US crochet terms.
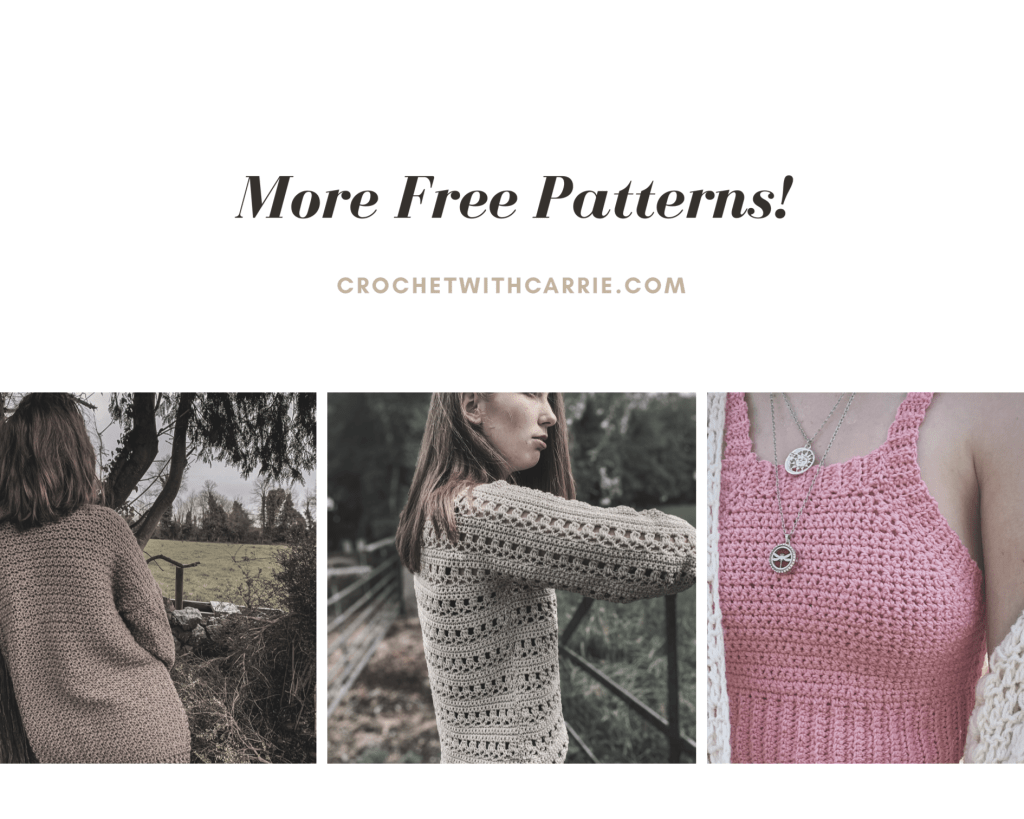
Crochet Saoirse Slouchy Cardigan Crochet Forget Me Not Sweater Crochet Summer Fruits Top
Level:
Easy
Materials
Yarn – Drops Cotton Light – weight 3/Dk/light/8 ply, 115y/50g/105m
9(9, 10, 10, 11, 11) balls
5mm crochet hook
4.5mm crochet hook
Yarn needle
Scissors
2/3 stitch markers
Stitches & Abbreviations
Ch = chain
Slst = slip stitch
Sc = single crochet
Hdc = half double crochet
BLO = back loop only
HDC3TOG = half double crochet 3 together
Measurements
To fit bust 34(38, 40, 44, 48, 52) inches
Length of entire sweater: 18(18, 19, 19, 20, 20) inches
Length before ribbed hemline: 16(16, 17, 17, 18, 18) inches
Gauge: 42 square = 16 sts x 9 rows
Pin it for later!
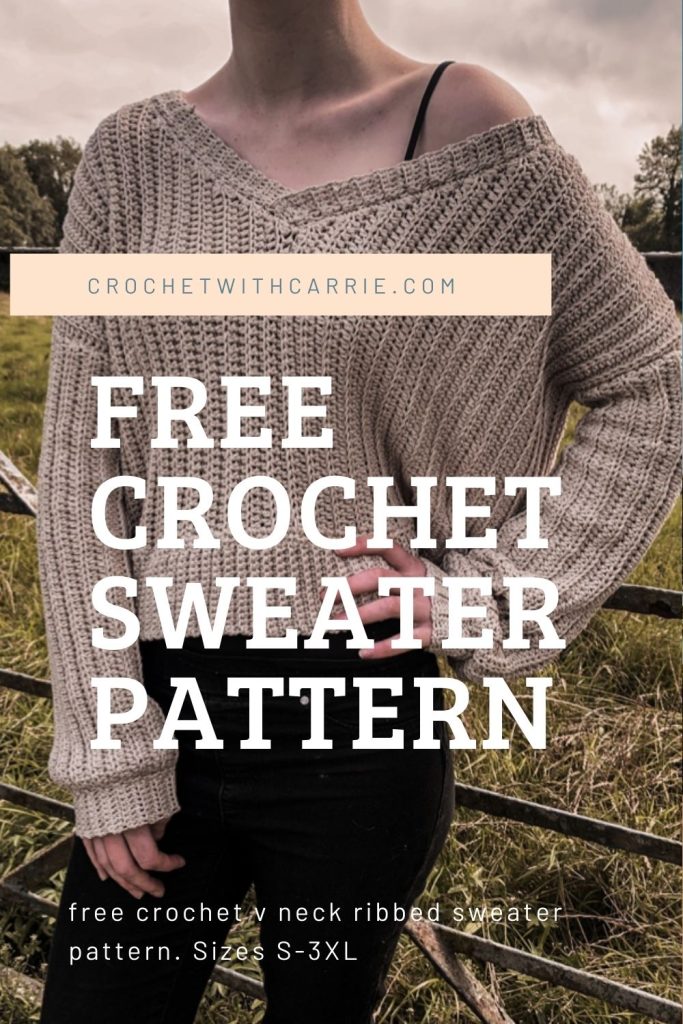
Crochet V neck Ribbed Sweater Pattern
Front Panel
With 5mm hook:
Ch 64(68, 72, 76, 80, 84). This initial ch determines the length. Add more chains here for a longer sweater.
Row 1: hdc into 2nd ch from hook, hdc across to end. Turn
Row 2: Ch 1, hdc in BLO to end. Turn.
Rows 3 – 17(19, 21, 23, 25, 27): repeat row 2.
Row 18(20, 22, 24, 26, 28): ch 1, hdc3tog, hdc BLO to end. Turn
Row 19(21, 23, 25, 27, 29): ch 1, hdc BLO across until 3 sts remain, hdc3tog. Turn.
Rows 20-32(22-34, 24-36, 26-38, 28-40, 30-42): repeat last 2 rows.
Rows 33(35, 37, 39, 41, 43): ch 1, hdc across until 1 st remains, hdc3 (inc) in last st. Turn
Row 34(36, 38, 40, 42, 44): ch 1, hdc3 in first st (inc), hdc in BLO to end. Turn.
Rows 35-47(37-49, 39-51, 41-53, 43-55, 45-57): repeat last 2 rows.
Then do 17(19, 21, 23, 25, 27) rows of hdc in BLO.
Next sc along the bottom edge of the front panel as evenly as you can.
CHANGE TO 4.5mm HOOK
With yarn still attached make a chain of 14, then:
Row 1: sc in 2nd ch from hook, sc in next 12 chains, slst into next 2 sc (the sc on the main body part). Turn
Row 2 : sc BLO in next 13 sc making sure not to work into the previous 2 slip sts. Turn.
Row 3: ch 1, sc in BLO along next 13 sc, slst in next 2 sts. Turn
Repeat rows 2-3 all the way across the bottom edge of front panel.
Fasten off.
Back Panel
USING 5mm HOOK
Ch 64(68, 72, 76, 80, 84)
Row 1: hdc in 2nd ch from hook, hdc to end. Turn
Row 2: ch 1, hdc in BLO across to end. Turn.
Repeat row 2 until you have 64(68, 72, 76, 80, 84) rows completed.
Next sc across the bottom edge of the back panel as evenly as you can.
CHANGE TO 4.5mm HOOK
Continuing on from where you are now, ch 14.
Row 1: sc in 2nd ch from hook, sc in next 12 chains, slst into next 2 sc (the sc on the main body part). Turn
Row 2 : sc BLO in next 13 sc making sure not to work into the previous 2 slip sts. Turn.
Row 3: ch 1, sc in BLO along next 13 sc, slst in next 2 sts. Turn
Repeat rows 2-3 all the way across the bottom edge of back panel.
Fasten off.
Sleeves
Make 2
USING 5mm HOOK
Ch 61(61, 63, 63, 65, 65)
Row 1: hdc in 2nd ch from hook, hdc across to end. Turn
Row 2: ch 1, hdc in BLO across. Turn.
Repeat row 2 until you have 32(34, 36, 38, 40, 42) rows completed. You can add more rows here if you want a looser sleeve.
CHANGE TO 4.5mm HOOK
Sc as evenly as possible along the bottom edge of sleeve. Then ch 9.
Row 1: sc in 2nd ch from hook, sc in next 7 chains, slst into next 2 sc (the sc on the main sleeve part). Turn
Row 2 : sc BLO in next 8 sc making sure not to work into the previous 2 slip sts. Turn.
Row 3: ch 1, sc in BLO along next 8 sc, slst in next 2 sts. Turn
Repeat rows 2-3 all the way across the bottom edge of sleeve.
Fasten off.
Assembly:
Lay the front panel on top of the back panel and using your yarn needle stitch across the two shoulders.
Next lay your piece out flat. Grab a sleeve and fold it in half lengthwise to find the middle. Place a stitch marker in that stitch, then line it up with the shoulder seam. Attach stitch marker to shoulder seam also. Now stitch sleeve, slightly stretched to the main body. Repeat on the other side
Fold you sweater over and stitch along the underneath of your sleeve and down along the sides of sweater. I stopped stitching just above the ribbed hem, but it’s up to you. Repeat o the other side.
Next turn your sweater right side out.
With your 5mm hook attach yarn to the centre of your v neck. Ch 1, and sc evenly around the entire neckline. Slst to first sc to close.
CHANGE TO 4.5mm HOOK
Row 1: Ch 6, sc in 2nd ch from hook, sc in next 4 chains, slst in next 2 sc (the sc on the neckline). Turn
Row 2: sc in BLO into next 5 sc BLO. Turn
Row 3: ch 1, sc BLO in next 5 sc, sl st in next 2 sc (the sc on the neckline). Turn.
Repeat rows 2-3 all the way around the neckline.
When you reach all the way around fasten off leaving a long tail. Insert your tail into a yarn needle. Grab one side of the neck ribbing and fold it over the other side so it’s laying across the seam of the other side. I think it’s best to follow the video tutorial to have a grasp as to what I mean!
Weave in all ends and you are finished your crochet v neck ribbed sweater.
What do you mean by Gauge: 42 square = 16 sts x 9 rows? I’ve never seen a gauge without inches or a measurement listed.
Hi, I kinda wondered what it means in the beginning but I think it probably means 4″ x 4″ = 16 sts x 9 rows. This worked well with my gauge.
Why is the front panel 55 rows for a 2x and it says 80 rows for back panel? Shouldn’t they be the Same? Is this a mistake in print?
The last part of the front panel where it says chain 14 and so on is very confusing. It is a little extra piece which I don’t know what to do with it
Carrie could you create a cropped cardigan. I absolutely loved your work I have made three of your projects. Please take care and stay safe. God Bless!
its for the cinching piece
Had to calculate finished size comparing guage to stitches per size, and based on that, sized down quite a bit for a more fitted sweater. Love it!
Hi there! Just wanted to suggest that you add a stitch counter for each row. The front panel was challenging as I kept misaligning the v neck. Row 1 and Row 72 (large) just did not meet up. If there were a stick counter at the end to tell me how many stitches there should be, I think it would be easier. Lovely pattern! Really enjoyed making it!
Hi I need help with the cuff please. How dobI crochet the cuff? Or where in patern is that? Cuff row 1, 2, 3 until end is inly worked in 10 stitches. When do you work the 70?
Realy hope you can assist me.
[email protected]