
Learn to crochet this quick and easy crop top. The Medora Crop Top works up quite quickly so you will be able to whip up a few in all your favourite colours in no time. You can make the top longer or shorter by simply adding or subtracting your foundation stitch count. For a smaller or bigger top than what the pattern instructs, you can simply do less or more rows. So as you can see this top is perfect for all body shapes and sizes.
This free written pattern is accompanied with a free step by step video tutorial so you can follow along with me as you go along. Scroll down the page to view the video.
CONSTRUCTION
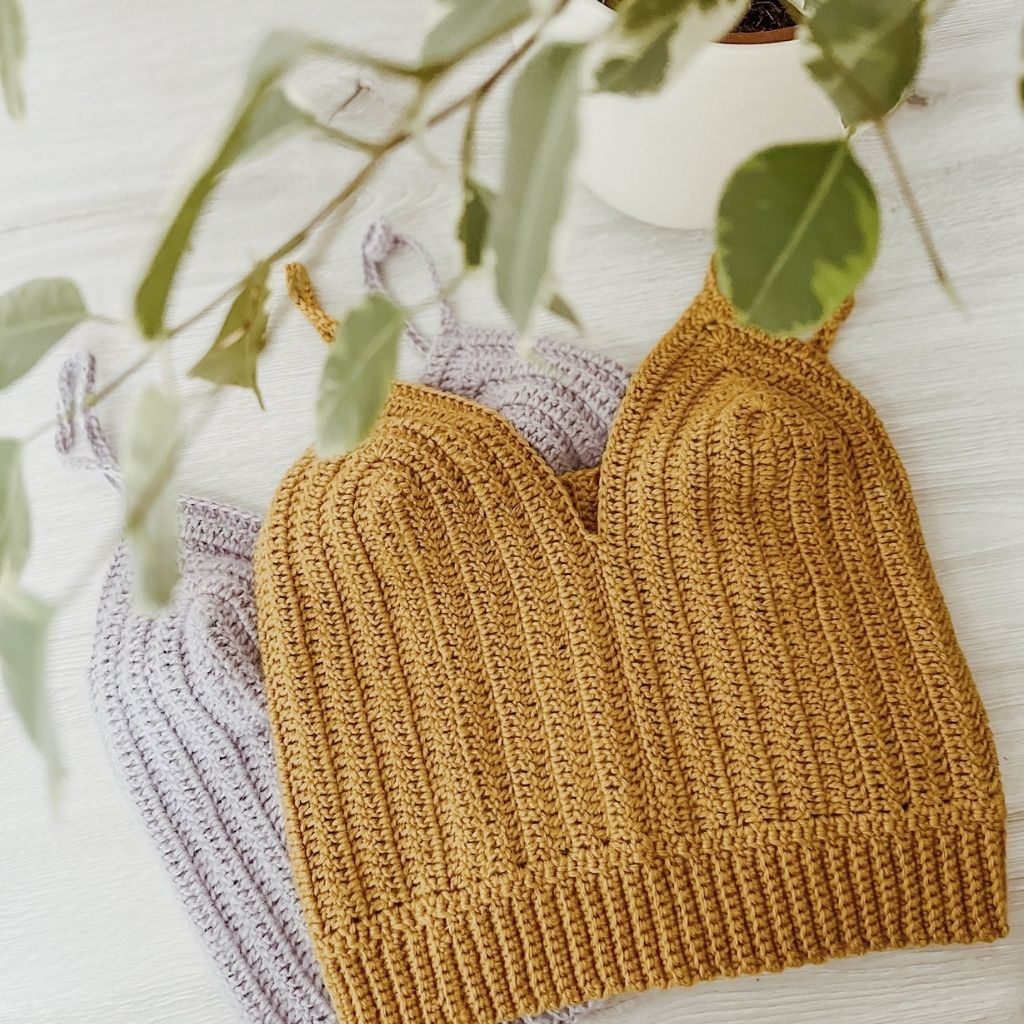
The construction for the Medora Crop Top is really simple. You will crochet two identical cups to fit your size and then crochet a few stitches up along the sides of each cup. After we have crocheted a few rows along the sides of the cups we will do some easy seaming. Once the main body of the top is finished we will go ahead and add our straps. We can stop here but I like like to make things interesting by adding a ribbed hem on the bottom of the top. This ribbed hem will be crocheted directly onto the bottom edge of the top and not made separately.
YARN
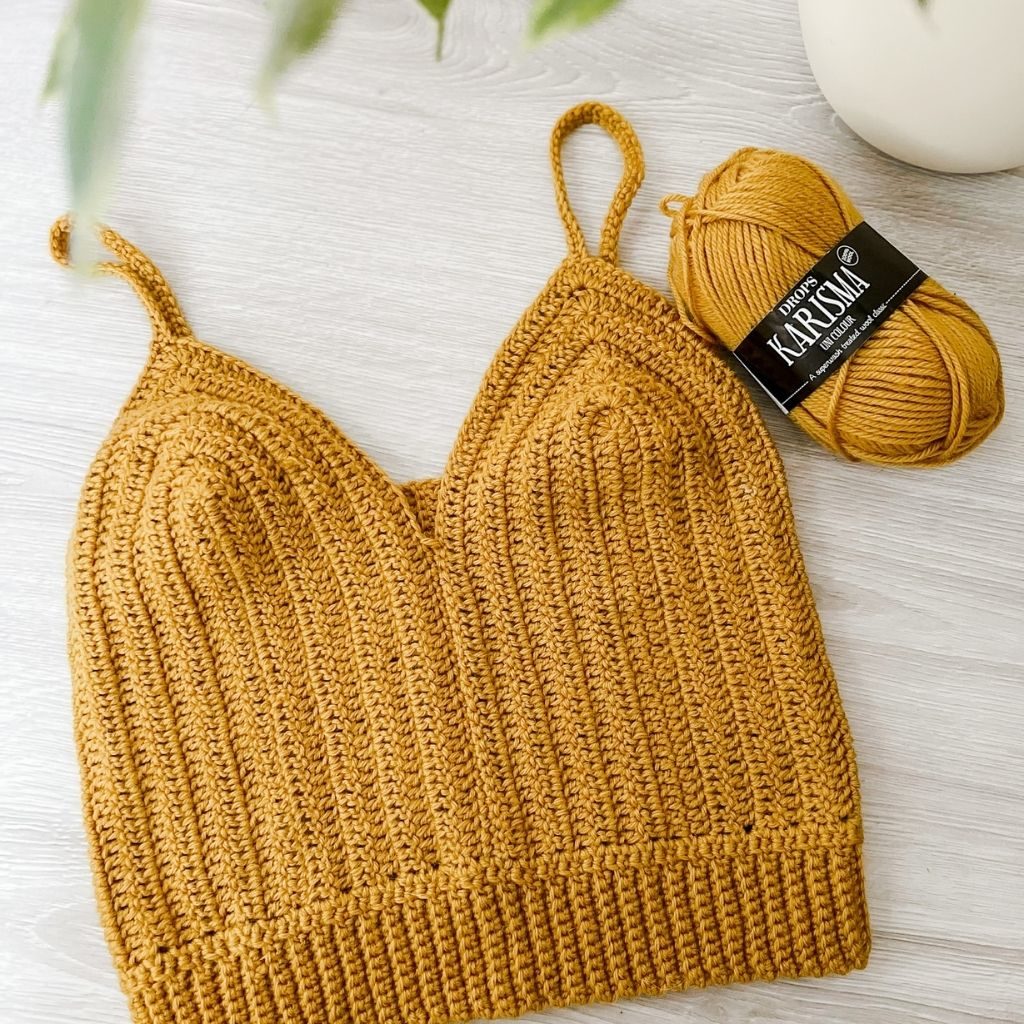
Our crochet Medora Crop Top uses a Dk or light weight yarn. I have found that it’s best to avoid cotton yarn as there is little to no stretch, so if you can use an acrylic or animal fibre yarn like merino, wool etc that would definitely work best. In the photos I used both Hobbii Fluffy Day (the lavender) and Drops Karisma (the mustard one).
If you have no other choice but use a cotton yarn you can try adding an extra row or two than instructed in the pattern or perhaps you can leave the back open and add a few straps.
MATERIALS
Yarn – any Dk/light/weight 3 – acrylic/wool blend
Approximately 350(360, 380, 400, 420, 440)m
3mm crochet hook
2 stitch markers
Yarn needle
Scissors
STITCHES & ABBREVIATIONS
ch = chain
slst = slip stitch
sc = single crochet
dc = double crochet
BLO = back loop only
rep = repeat
st(s) = stitch(es)
SIZING
The size guide follows XS(S, M, L, XL, 2XL)
To fit bust sizes 28-30(32-34, 36-38, 40-42, 44-46, 48-50)”
GAUGE:
10cm/4″ square = 19 stitches x 10 rows in double crochet
CROCHET MEDORA CROP TOP PATTERN
FRONT CUP (MAKE 2)
FOUNDATION CHAIN: Ch 37(39, 41, 43, 45, 47)
ROW 1: dc into 3rd ch from the hook. Dc in each ch across, placing 5 dc in last ch. Put stitch marker into 3rd dc). Working along the opposite side of chain dc to end. <75(79, 83, 87, 91, 95) sts>
ROW 2: ch 2 (counts as dc here and throughout), dc in each st across, placing 5 dc in st with marker, move marker to 3rd st) dc in each st to end. Turn.
Rep row 2 until end of row 8(10, 12, 13, 15, 17, 18). DO NOT FASTEN OFF.
NEXT ROW: ch 2, dc in next 35(37, 39, 41, 43, 45) sts. Turn.
NEXT ROW: ch 2, dc in each st. Turn.
Rep last row until end of row 16(20, 26, 30, 34, 36). Fasten off. Only leave long tail for second cup.
SEAMING
Next you will lay the two cups side by side with the sides touching each other. With the yarn needle and long tail seam together. Once seamed together this section will now become the back. Flip the two cups toward the front and with some yarn and your yarn needle seam cups together. The higher or lower you seam will determine the depth of your neckline.
For the straps we attach yarn to one of the cups. The yarn is attached to the stitch with the stitch marker. Once yarn is attached ch 30-40. Feel free to add or subtract chains here depending on the length of strap needed. When you’re happy with your strap length slip stitch to the back, then place one more slip stitch next to it. Now we will sc up along the strap. Once you have sc up along strap we will slip stitch into the 3rd dc of our group of 5 dc, the slip stitch into stitch directly beside it. Fasten off and weave in all ends.
Repeat for the 2nd strap.
RIBBED HEM
Flip your piece so the back is facing you. Attach yarn to the bottom edge at the back seam area.
ROUND 1: ch 1, sc all the way around the entire bottom edge of top, slst to 1st sc to close the round. (When you are working this round, try to place 2 sc at the end of each dc row). Ch 11.
ROUND 2: sc in 2nd ch from hook, sc in each of next 9 chains, slst into each of next 2 sc, *turn, skip 2 slsts, sc 10 in BLO, ch 1, turn, sc 10 in BLO, slst in each of next 2 sc, rep from * all the way around.
Next you will slst the two ends together to close. Fasten off and weave in all ends.
NOTES ON MODIFICATIONS
- For a longer or shorter top simply make a longer or shorter foundation chain.
- For a tighter fit you can try making a smaller size or do fewer rows for the cups. Remember that you must adjust the back if you do this. For example, if you do 7 rows for the cups you will simply double that number to get the amount of rows needed for the side panel of the cups. So in this instance you will do 14 rows for each side panel of each cup. Likewise if you do 9 rows for a cup, you double that number to get your cup side panel, which is 18.
- Simply add more rows at the cups for a looser fit and follow same instructions above for the back adjustments.
- The higher up you seam the two front cups together determines the depth of neckline.
- If you find the bottom ribbing is not fitting you correctly you can try and crochet it entirely separately. To do this simply:
Ch 11
ROW 1: sc in 2nd ch from hook, sc in each ch across. Turn.
ROW 2: ch 1, sc in each st across working in BLO. Turn.
Rep row 2 until band is long enough to go around waist.
Slst ends together and then seam this band to the bottom of your top.
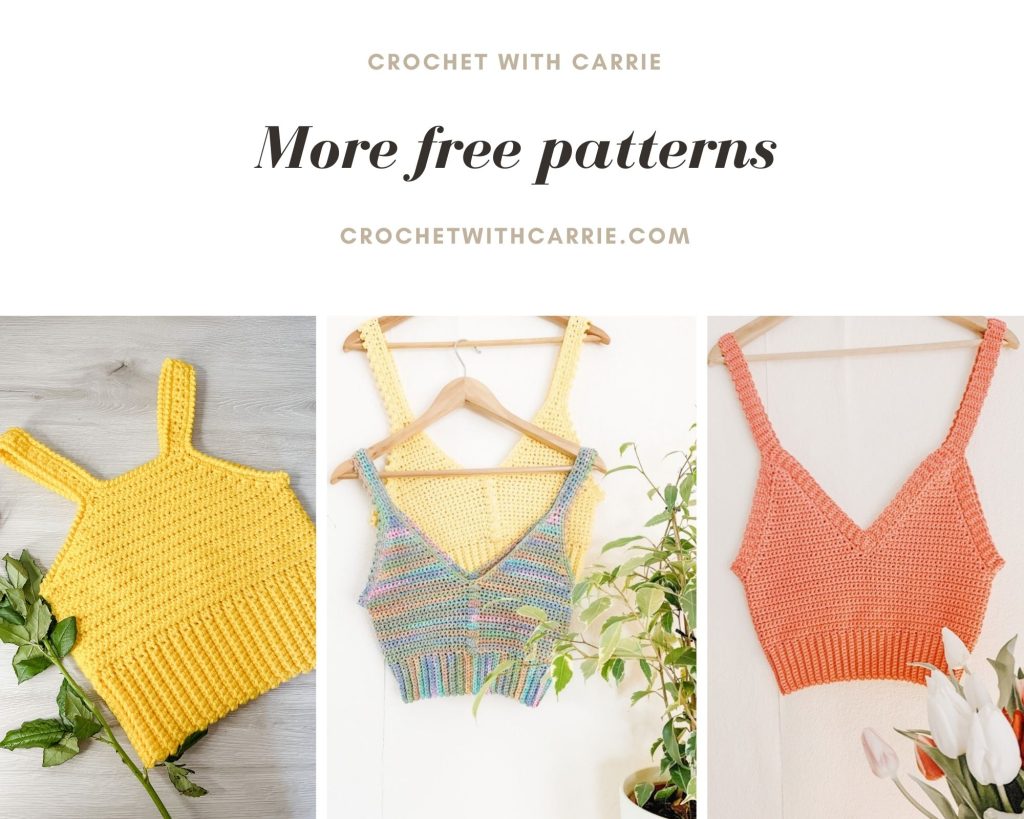
You are now finished your Medora Crop Top. I look forward to seeing all of your creations so make sure to tag me @hey_carriex
Lots of love
Carrie
Hi Carrie,
I am really struggling with crocheting although I am a good knitter.
I am 74 years old and my granddaughter wants me to do this pattern. Is it please possible for you to convert the pattern to knitting pattern I would really appreciate it. Thank you in advance.
Kind regards,
Ursula