
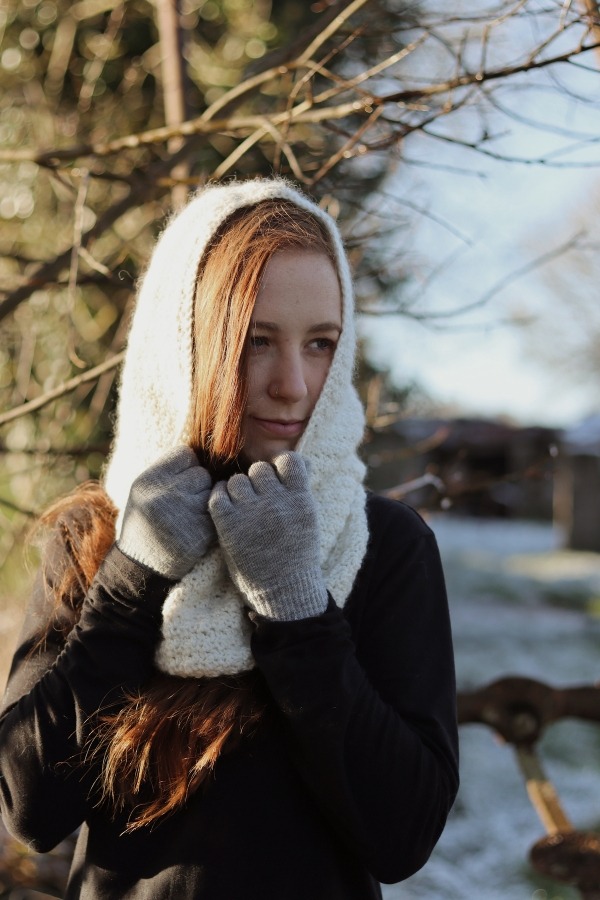
Learn to crochet this quick and easy crochet cowl in as little as a couple days! This crochet cowl not only keeps your neck warm but with the added bonus of having a hood, you will surely be nice and toasty during the months ahead.
Scroll down for the free written pattern.
This crochet hooded cowl is perfect for those who want to crochet something but don’t want to commit to something as big as a sweater or cardigan. Designed with simple crochet stitches that give beautiful texture, this crochet cowl would make a great addition to your winter accessory “wardrobe”.
CONSTRUCTION
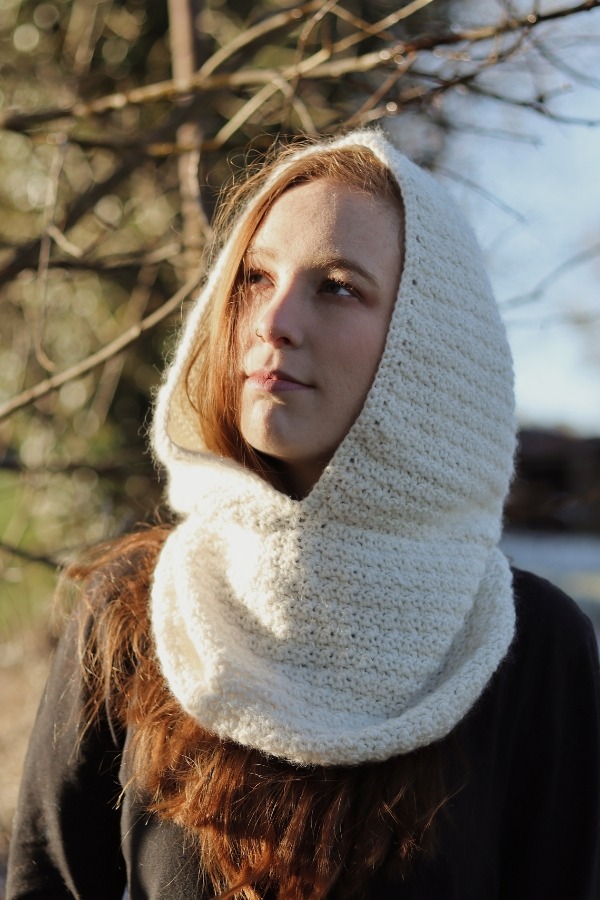
This crochet cowl pattern uses simple single and double crochets and when these two stitches are paired together they give a beautiful texture to the cowl. Firstly we will work on the neck piece by crocheting in the round. If you want to make the neck piece bigger or more snug you will simply add/subtract your foundation chains making sure the end number is a multiple of 2. We will then continue to work in the round until we reach a certain amount of rows. The number of rows you crochet will determine the height of the cowl. Once we are happy with the cowl height we will fasten off and begin working on the hood section. Here we will be working flat and making two separate yet identical pieces. After a certain amount of rows we will do some decreasing before we eventually seam these two pieces together.
Lastly we will seam the hood section to the cowl and then do a row of single crochet around the circumference of the hood.
YARN
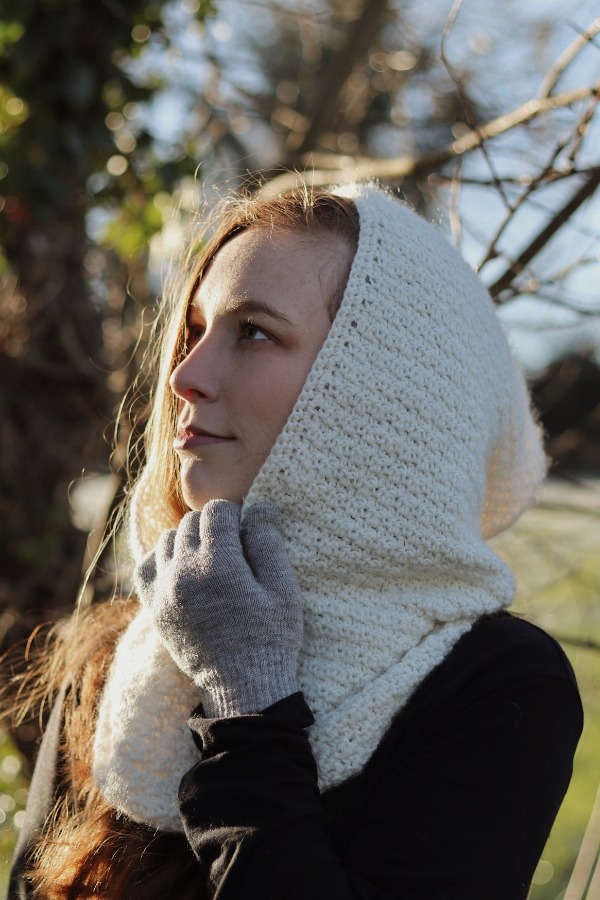
For this cowl I used one strand of Hobbii Friends Extra Fine Merino and one strand of Hobbii Friends Kid Silk. The combination of both these yarns give a really nice drape and are super soft to the touch making them perfect for a piece like this. The merino is a sport weight while the kid silk is a lace weight. I thoroughly enjoyed using these two together. The kid silk gives the cowl and beautiful halo and I’m all for it.
If you plan to make this crochet hooded cowl but don’t want to use two separate strands I would recommend just one strand of a Dk but please always watch your gauge!
MATERIALS
Yarn – one strand of Hobbii Friends Extra Fine Merino – sport/fine – 100% wool – 165m(180yds) per 50g
one strand of Hobbii Friends Kid Silk – lace – 72% mohair, 25% silk, 3% wool – 200m(218yds) each
or one strand of Dk/light/8 ply
Approximately 3 balls of sport weight and 3 balls of lace weight.
Use only 3 balls if using only Dk yarn
Hook – 4.5mm
Notions – yarn needle, measuring tape, interlocking stitch markers to help with seaming.
STITCHES & ABBREVIATIONS
ch – chain
sc – single crochet
dc – double crochet
slst – slip stitch
st(s) – stitch(es)
rep – repeat
yo – yarn over
tch – turning chain
SPECIAL STITCH: dc/sc2tog = yo, insert hook in next st, yo and draw up loop, yo, draw through 2 loops, insert hook in next st and draw up loop, yo, draw through 3 loops on hook.
NOTES:
ch 1 does not count as a stitch
Do not turn at the end of every round until mentioned in pattern.
CROCHET HOODED COWL PATTERN
COWL/NECK SECTION
Ch 90. sl st to first ch to work in the round.
Round 1: ch 1, sc in same st, dc in next, *sc in next st, dc in next st, rep from * around. Slst to first sc to close the round. [90 sts]
Round 2: ch 3 (counts as first dc), sc in next st, *dc in next st, sc in next st, rep from * around. Slst to top of beginning ch 3 to close the round.
Rep rounds 1-2 until this neck section measures approximately 10″ in height. You can add or subtract more rows here if you want a different height.
Fasten off.
HOOD SECTION (make 2)
Ch 46
Row 1: sc in 2nd ch from the hook, *dc in next ch, sc in next ch, rep from * across, turn.
Row 2: ch 3 (counts as first dc), *sc in next st, dc in next st, rep from * across, turn.
Rep rows 1-2 until you reach a height of 10″. DO NOT FASTEN OFF.
Next row: ch 1, skip first dc, *dc in next st, sc in next st, rep from * across, turn.
Next row: ch 3, *sc in next st, dc in next st, rep from * across until 2 sts rem, dc/sc2tog over last 2 sts, turn.
Rep last 2 rows a further 4 more times. Fasten off. Leave a long tail for seaming the two hood pieces together.
Lay one hood piece on top of the other with both decrease edges touching each other. Seam entire outer edges of hood together.
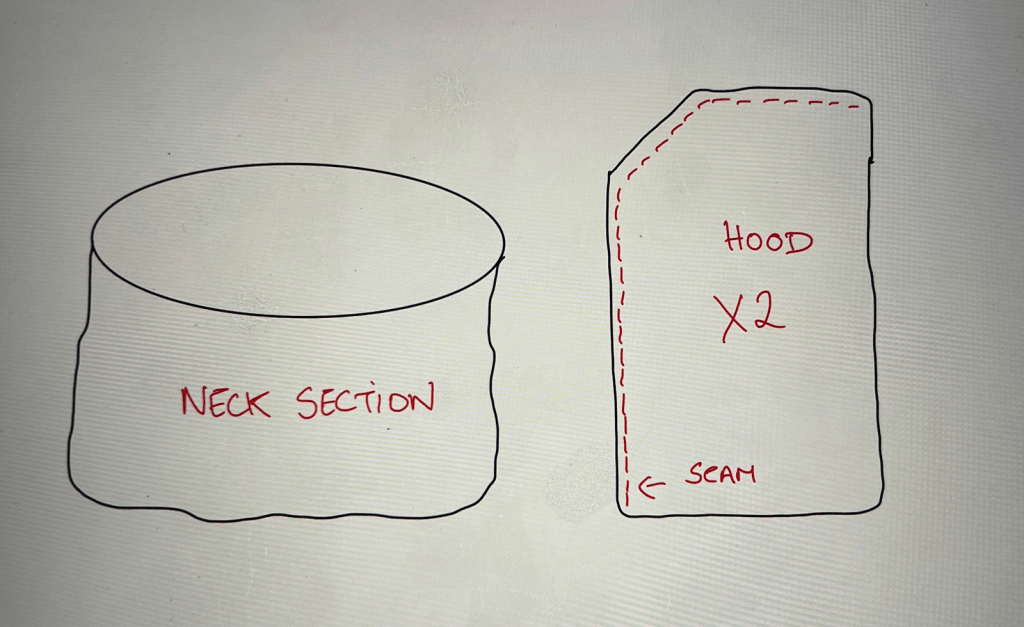
Next take the neck section and lay on a flat surface. Position the hood around the neck section and secure with some interlocking stitch markers to secure in place. Seam the hood to the neck section.
Attach yarn anywhere along the bottom edge edge of the hood section and sc all the way around for two rounds, slip stitching to the first sc at the end of each round to close.
Fasten off and weave in all your ends.
Thank you Carrie this is beautiful! I will be making it soon:)
Is there any easy way to print out the written pattern?
This is a great pattern. However after completing the cowl section I realised I should have been turning my work after every round – can you please add this to the instructions?
almost finished making this and I love it. thank you so much for everything
Almost finished making this hooded cowl and I love it. I love all of your work. Thank you sooo much for sharing.. Wishing you and your family a happy, healthy and safe holiday season. Thanks again.
Cheers from Philadelphia, PA
I know ads make you money as an affiliate, but they are very annoying when trying to follow the pattern inst.